Activate each site with your Flatsome account. You approve the site in your account, so there is no key to copy. Once a site is activated, updates for the Flatsome theme and the Flatsome plugin show up in WordPress like any other update, and modules that ship as separate plugins can be installed from the Modules screen.
A plan covers 1, 10 or 100 sites. A site is one WordPress installation: separate installations, even in subfolders of the same domain, count separately, and each site in a multisite network counts as one. One installation that serves several domains or language folders counts as one. Need a plan first? See pricing. Flatsome Classic customers get a discount by signing in with Envato; see Envato discount for Classic customers.
Activate the site
- In the WordPress admin, go to Flatsome → Dashboard, then choose the Account tab.
- Check I agree to the Flatsome license terms, then choose Activate with your account.
- A window opens at my.flatsome.com. Sign in to your Flatsome account and approve the site.
- The window closes by itself, and the Account tab shows the site as Activated.
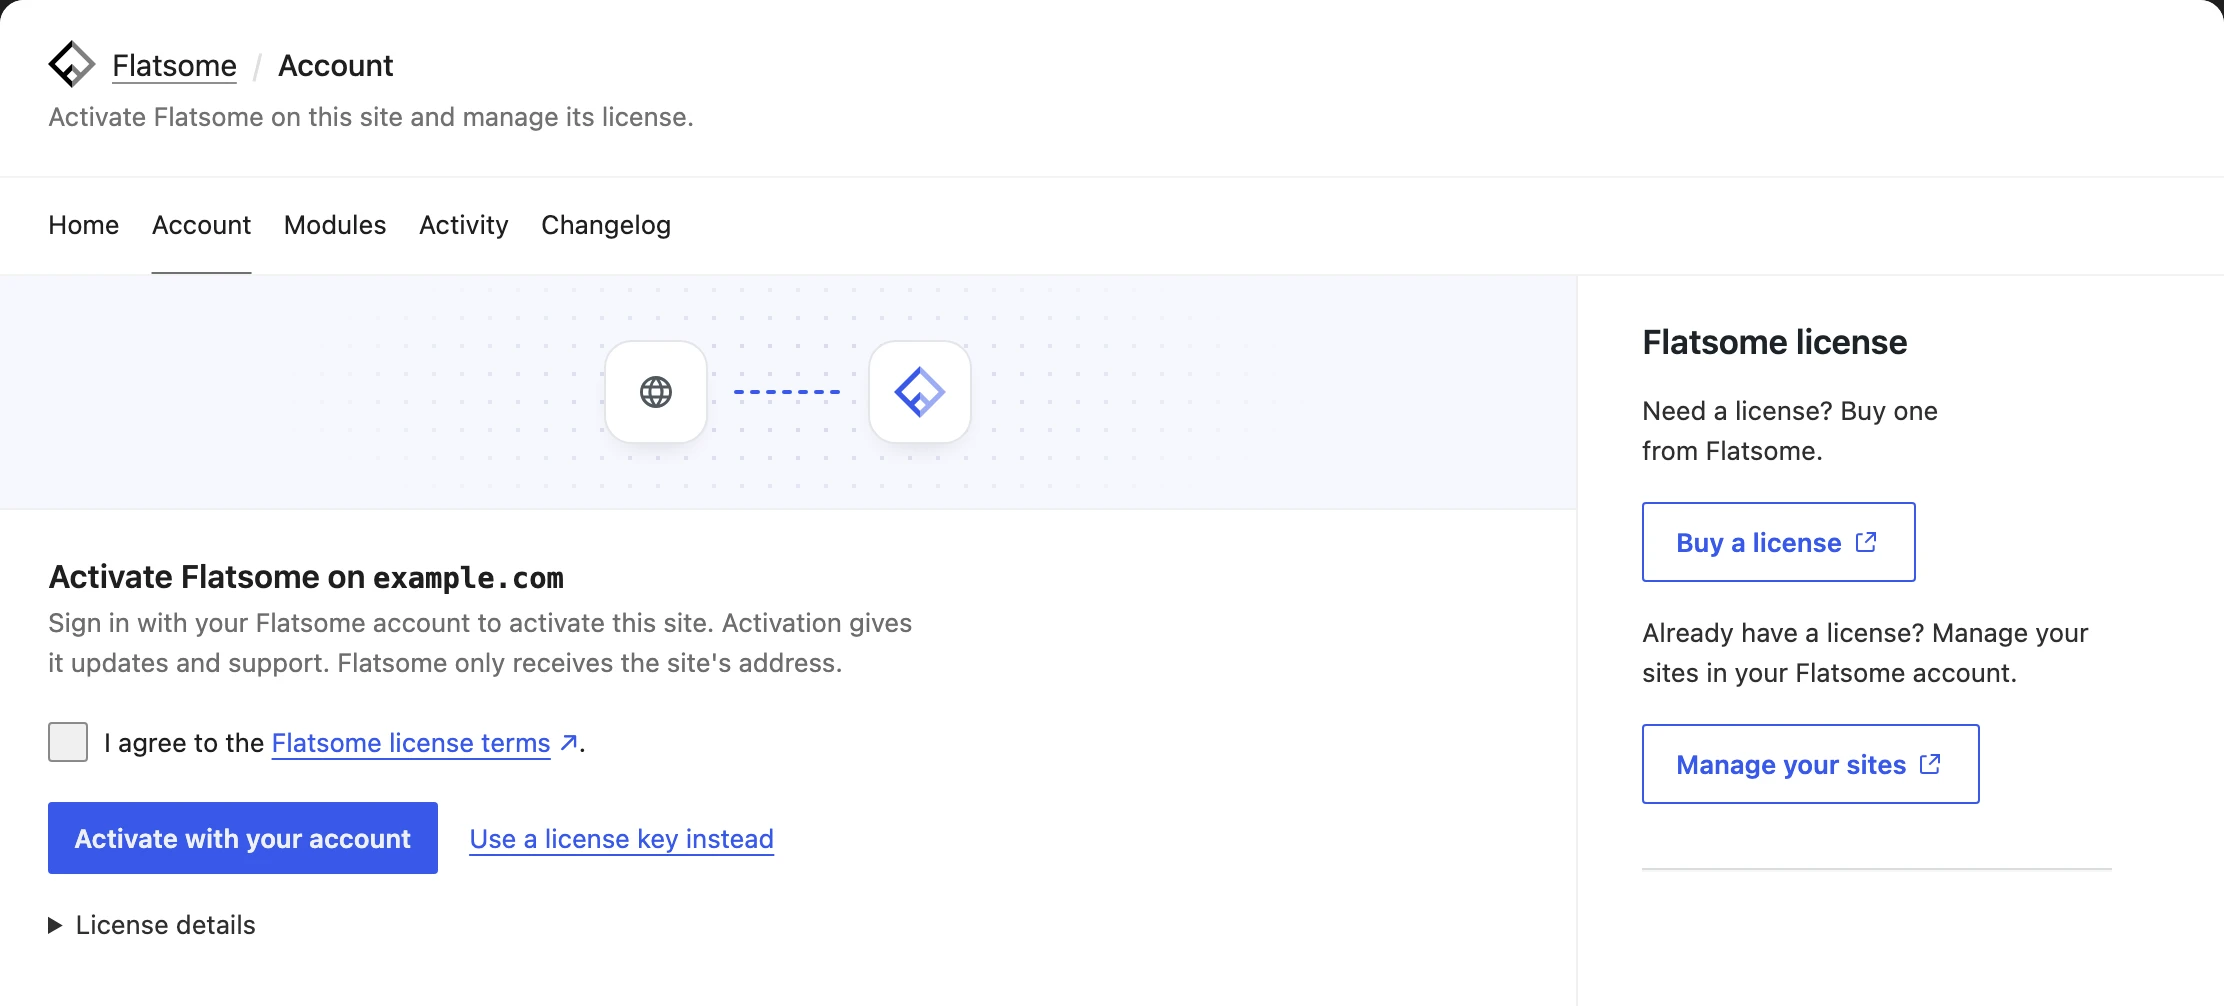
While you approve, the button reads Waiting for approval. If your browser blocked the window, choose Open the approval page next to it.
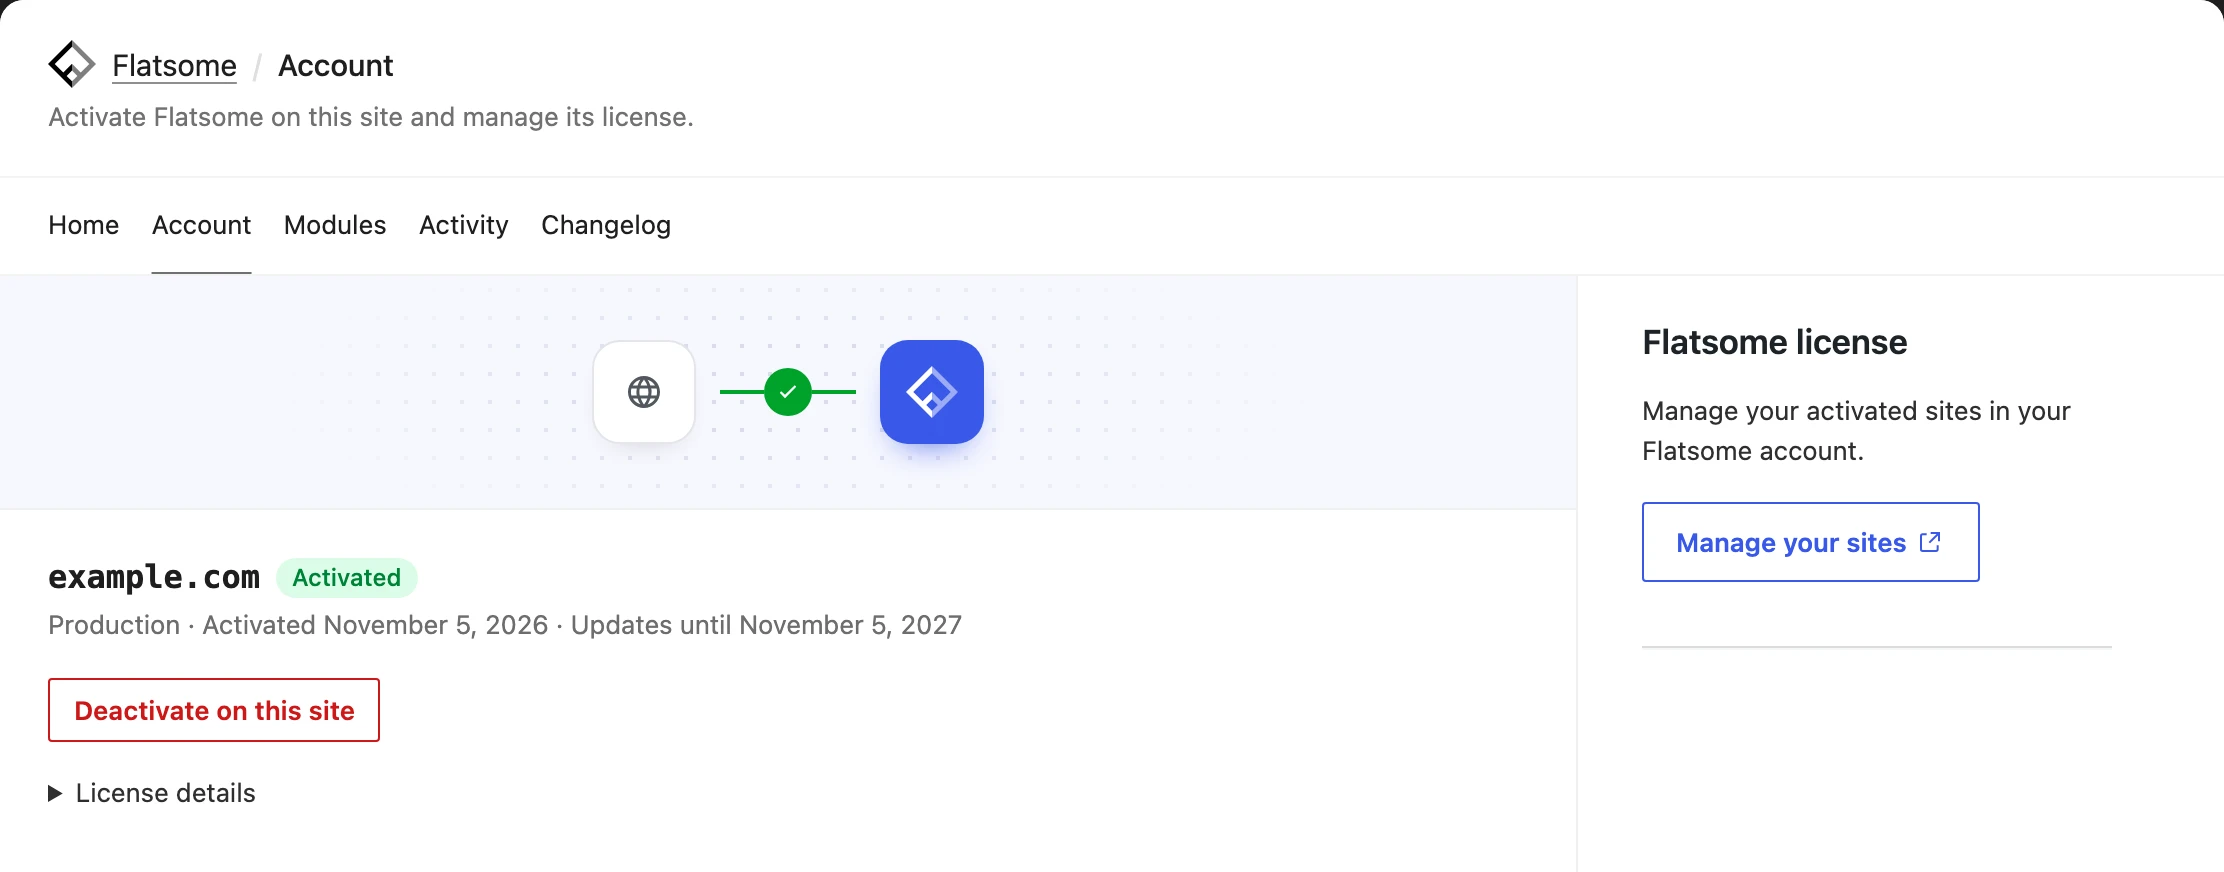
The activated site shows its environment, the date it was activated, and the date its updates run until. Manage your sites opens your account at my.flatsome.com, where every activated site is listed.
Use a license key instead
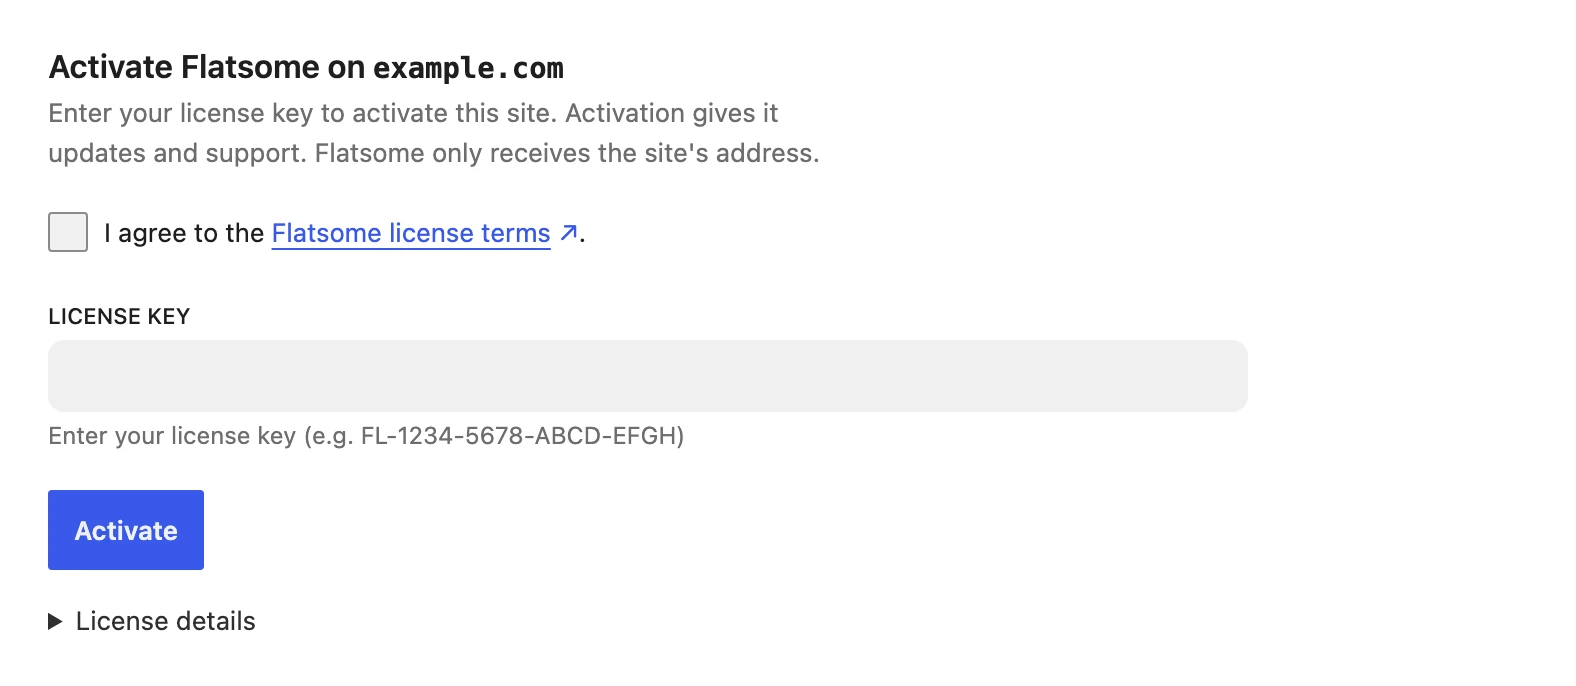
Most accounts don’t have a license key. New purchases don’t include one, and a site you activate with your account doesn’t need one, so use Activate with your account above.
Bought before keys were dropped? Your keys are on the plan’s page at my.flatsome.com under License keys, which team owners and admins can see. They look like FL-1234-5678-ABCD-EFGH. Choose Use a license key instead, paste the key, check the license terms, then choose Activate.
Copies of an activated site
A copy of an activated site, such as a staging clone or a local copy, activates by itself with the same license the first time someone opens its WordPress admin. There is nothing to do.
If the license is already active on a production site, the Account tab lists that site instead:
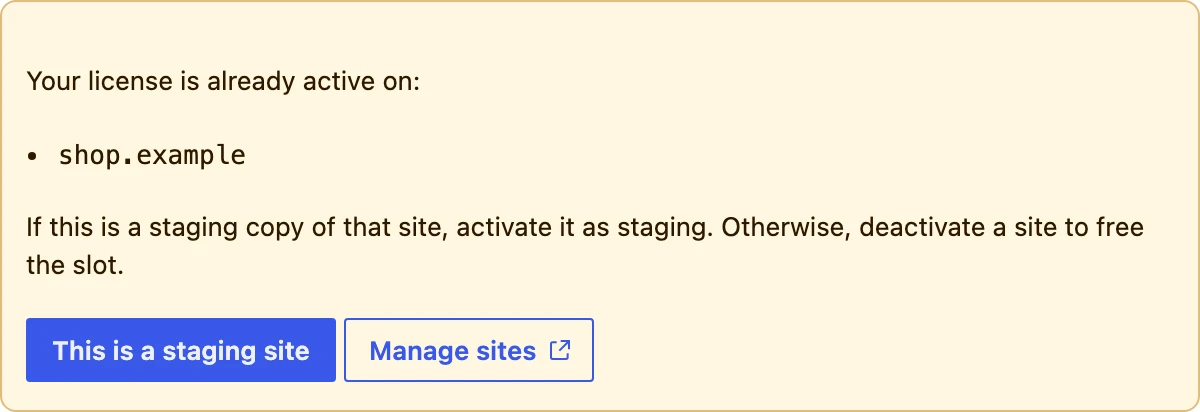
- This is a staging site activates the copy as the staging site of that production site.
- Manage sites opens your sites at my.flatsome.com. Deactivate the old site there to free its place, then activate this one.
Let a developer activate a site
To let a developer activate your site without sharing your login, add them to your team:
- At my.flatsome.com/team, invite the developer by email as a Member.
- The developer accepts by signing in or signing up with that email address.
- On your site, the developer chooses Activate with your account and approves the site with their own account.
Members can activate sites and download Flatsome, but they can’t see your plans, payments, or billing, and they can only deactivate sites they activated themselves. Remove them on the Team page when the work is done.
If your live site is already activated, a staging or local copy the developer makes of it activates by itself, as described above, so they don’t need an invite.
Staging and local sites
Each live site includes a staging site, and local and development sites are free and unlimited, so the same license works on your staging copy and on your computer.
Flatsome registers each site as production, staging, or local based on the WordPress environment type. Set it in wp-config.php before you activate the license, above the /* That's all, stop editing! */ line:
define( 'WP_ENVIRONMENT_TYPE', 'staging' );stagingregisters a staging site.localordevelopmentregisters a local site.production, or no value, registers a production site.
Some addresses are always registered as staging, whatever WP_ENVIRONMENT_TYPE says: a subdomain named staging, dev, test, or local, optionally followed by a number or a dash suffix (such as staging2.example.com or dev-shop.example.com), and these hosting staging domains:
*.app.github.dev, *.closte.com, *.cloudwaysapps.com, *.cloudwayssites.com, *.ddev.site, *.dreamhosters.com, *.flywheelsites.com, *.flywheelstaging.com, *.gitpod.io, *.goserver.host, *.instawp.co, *.instawp.dev, *.instawp.link, *.instawp.site, *.instawp.xyz, *.kinsta.cloud, *.lndo.site, *.localsite.io, *.mybluehost.me, *.myftpupload.com, *.mysites.io, *.mystagingwebsite.com, *.ngrok-free.app, *.ngrok-free.dev, *.nxcli.io, *.nxcli.net, *.onrocket.site, *.pantheonsite.io, *.pressdns.com, *.savviihq.com, *.servebolt.cloud, *.sg-host.com, *.stackstaging.com, *.stage.site, *.tastewp.com, *.temp.domains, *.tempurl.host, *.updraftclone.com, *.webspaceconfig.de, *.wp.build, *.wp1.sh, *.wp1.site, *.wpbouwlocatie.nl, *.wpcomstaging.com, *.wpengine.com, *.wpenginepowered.com, *.wpstage.net, *.wptiger.fr, *.zonevs.eu, and *-liquidwebsites.com.
Changed the environment type after activating? Deactivate the site and activate it again so it is registered in the right environment.
Update the theme and plugin
Activated sites get updates through Dashboard → Updates, and on the Themes and Plugins screens, exactly like WordPress core updates. Nothing needs to be downloaded by hand. To see what changed in each release, check the changelogs.
Each plan includes a year of updates. When that year ends, the Account tab shows the date with a Renew license link. The site keeps working on the version it has.
Choose how early you get new versions under Flatsome → Settings → Updates:
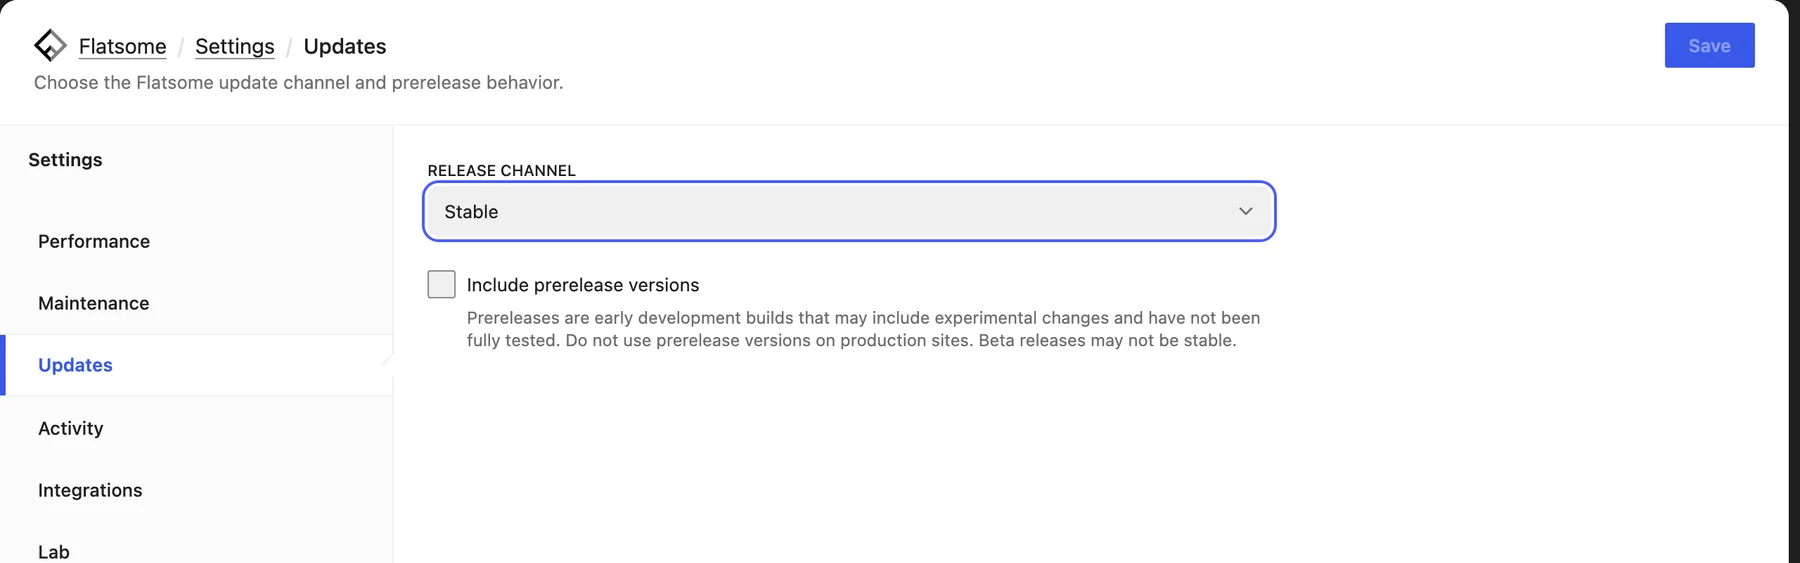
- Release channel: Stable only offers tested releases. Beta also offers beta builds before they become stable.
- Include prerelease versions: also offer alpha and release candidate builds. Use this on a staging site, not on a live store.
Move or deactivate a site
Open the Account tab under Flatsome → Dashboard on the old site and choose Deactivate on this site, then activate the new site. Do the same when a site moves to a new domain or folder. If the old site is no longer reachable, remove it from your sites at my.flatsome.com instead. A deactivated site keeps working, but it no longer gets updates.