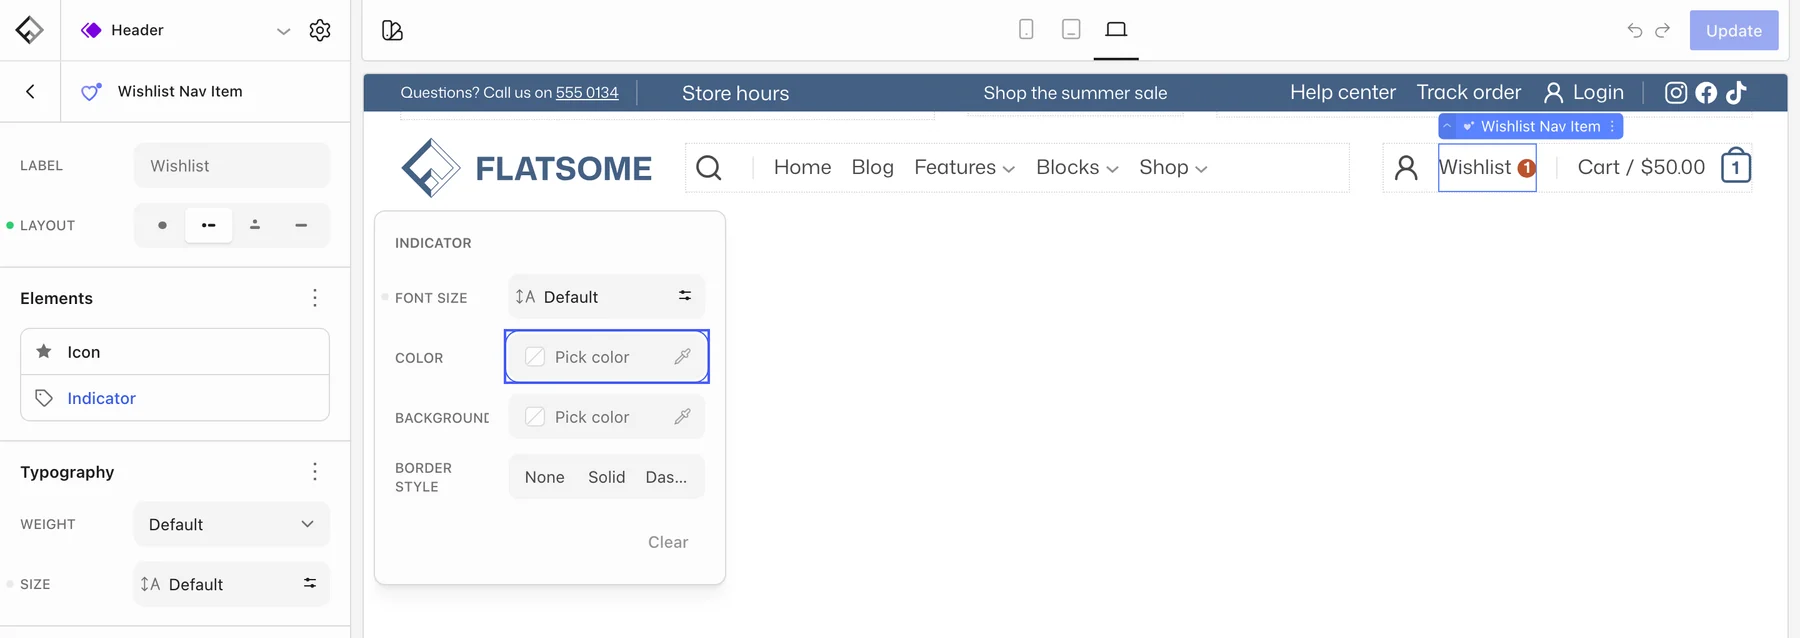
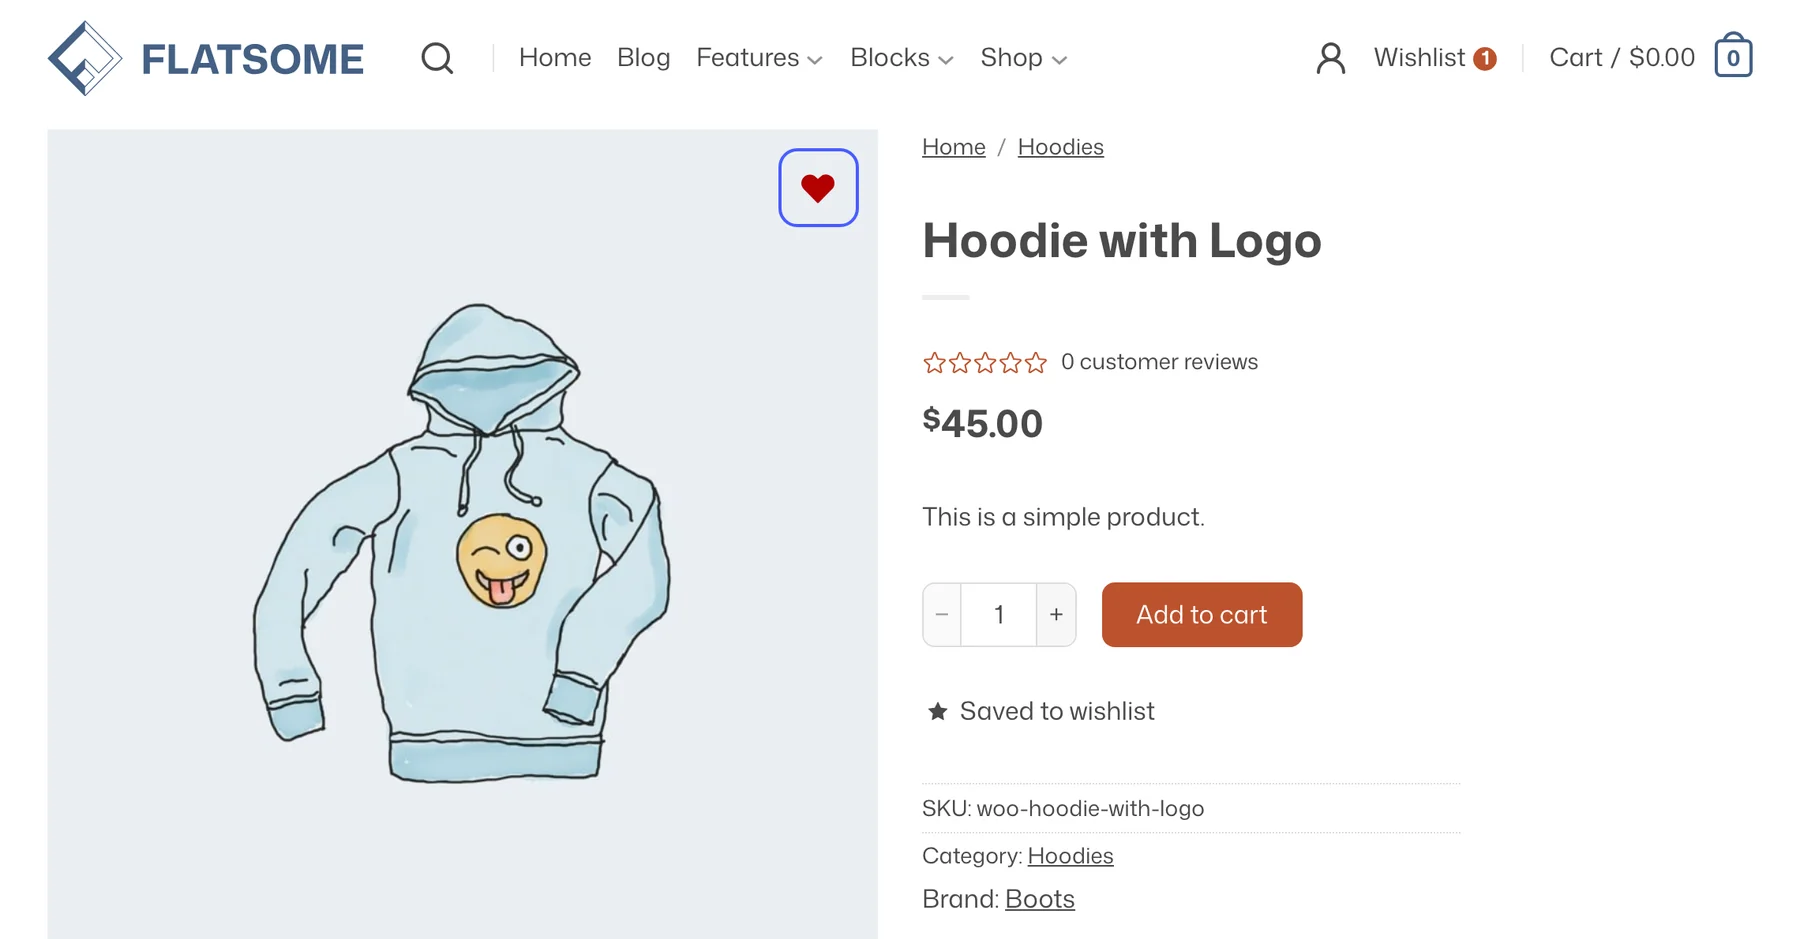
Wishlists are a WooCommerce feature. Flatsome adds the blocks that show it in your design: an Add to Wishlist button for product cards and product pages, and a Wishlist Nav Item for the header with a counter. Shoppers see their saved items under My Account.
Enable wishlists in WooCommerce
- Go to WooCommerce → Settings → Advanced → Features.
- Enable Wishlists and save.
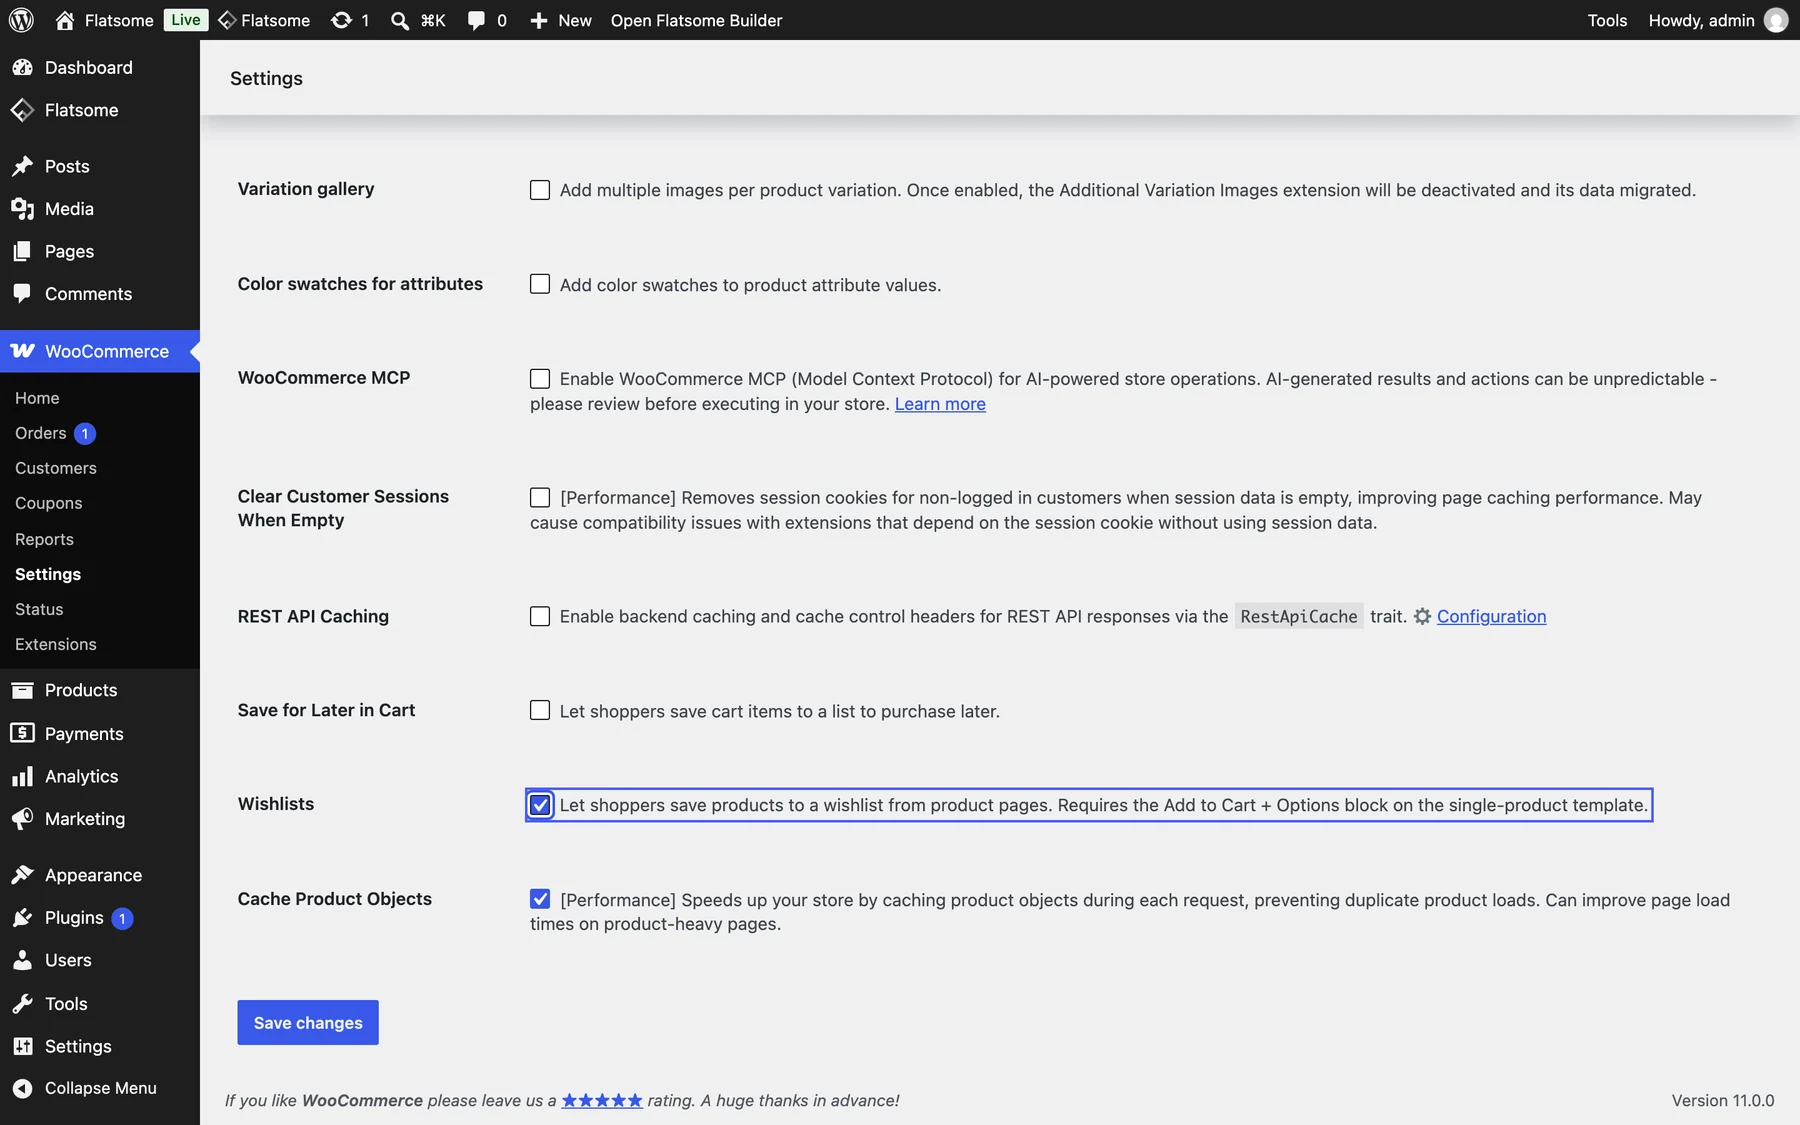
Until this is on, the wishlist blocks show a notice in the editor and render nothing on the storefront. Wishlists are for logged-in customers; guests do not see the buttons.
Add the button
The Add to Wishlist block is already in the Single Product template, the shop template, and the Quick View template part. To add it elsewhere, insert it into a product card inside a Products block or next to the add-to-cart area. Options:
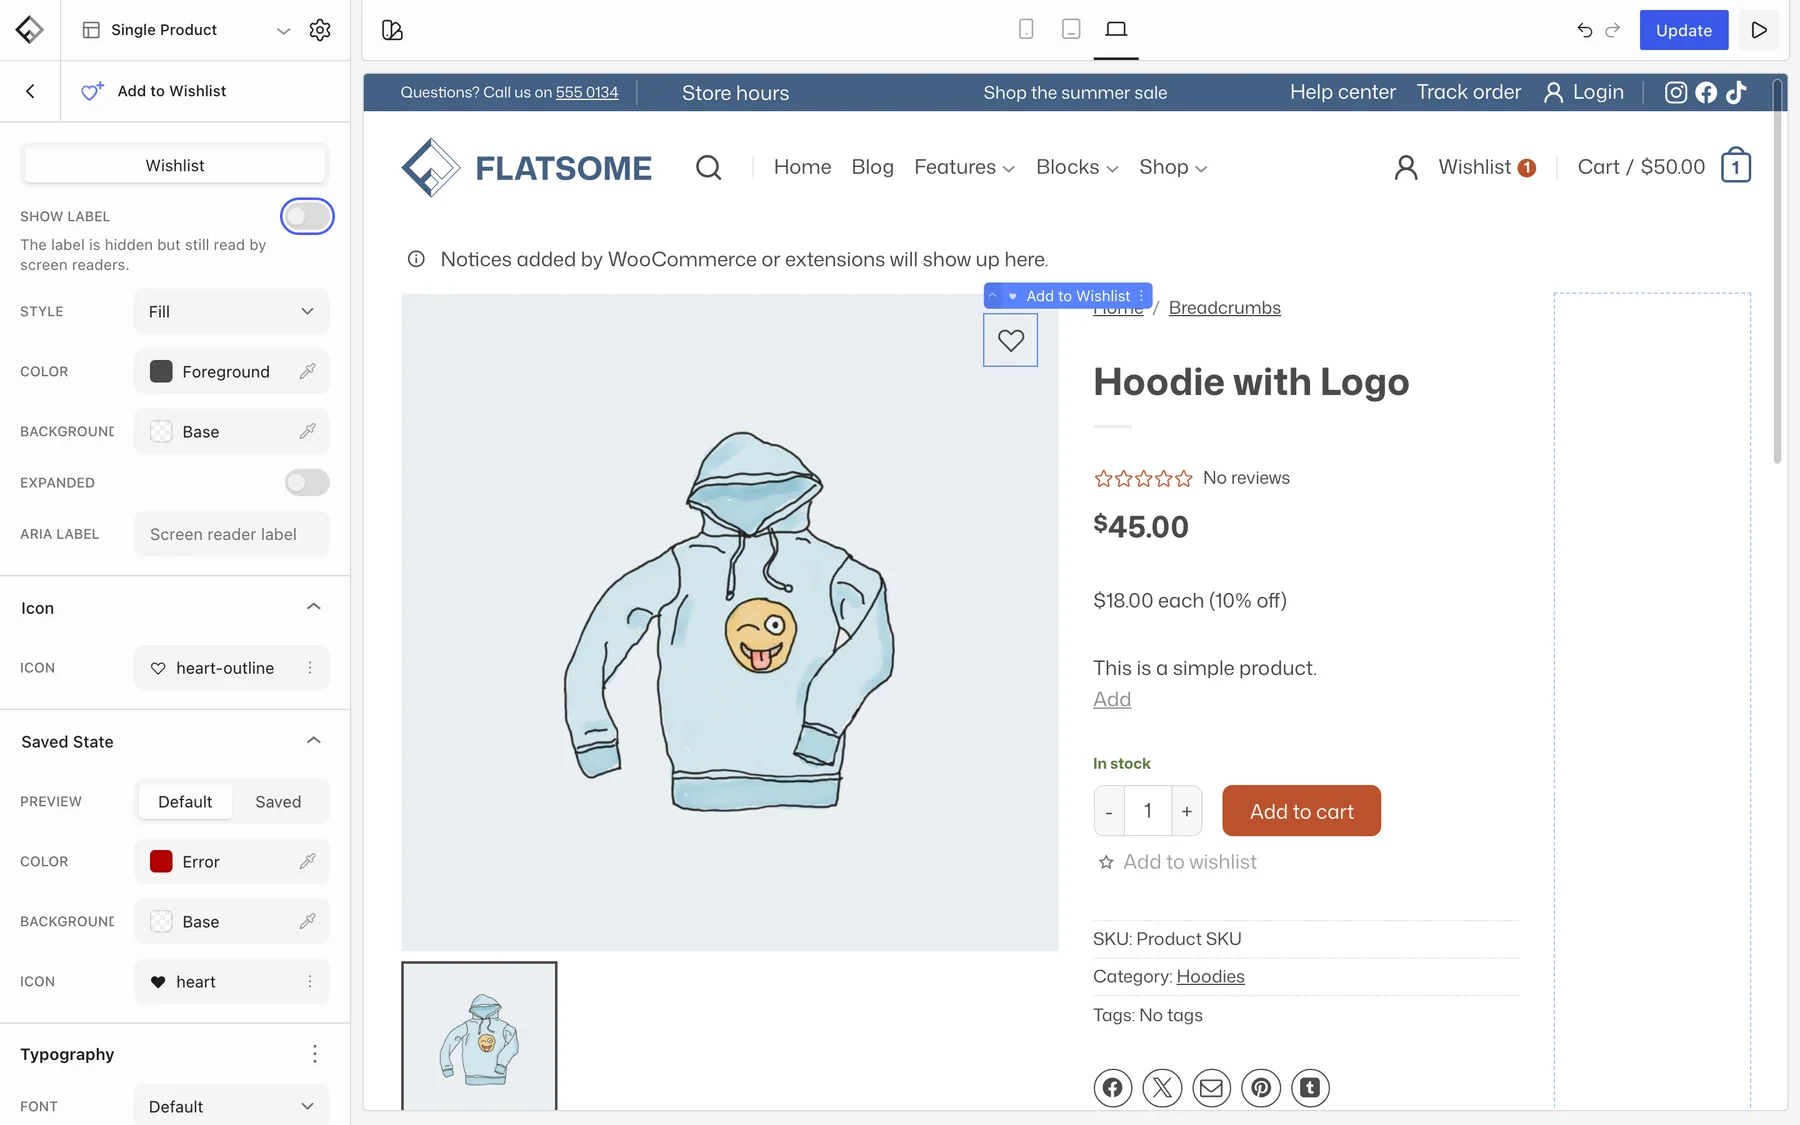
- Show label: off for an icon-only heart on product cards; the label is still read by screen readers.
- Saved State: a different icon and colors once the product is saved.
Add the header icon
Open Template Parts → Header and insert the Wishlist Nav Item block next to the account and cart icons. It links to the wishlist in My Account and shows the number of saved items in an Indicator you can color to match the cart badge.