


Fonts are managed in one place: the Typography screen in the Builder’s Styles panel. Fonts you install there are stored on your own server and served from your site, so no visitor data goes to a third party.
Open the Typography screen
- Open any page in the Flatsome Builder (Edit with Flatsome Builder in the admin bar or on the Pages screen).
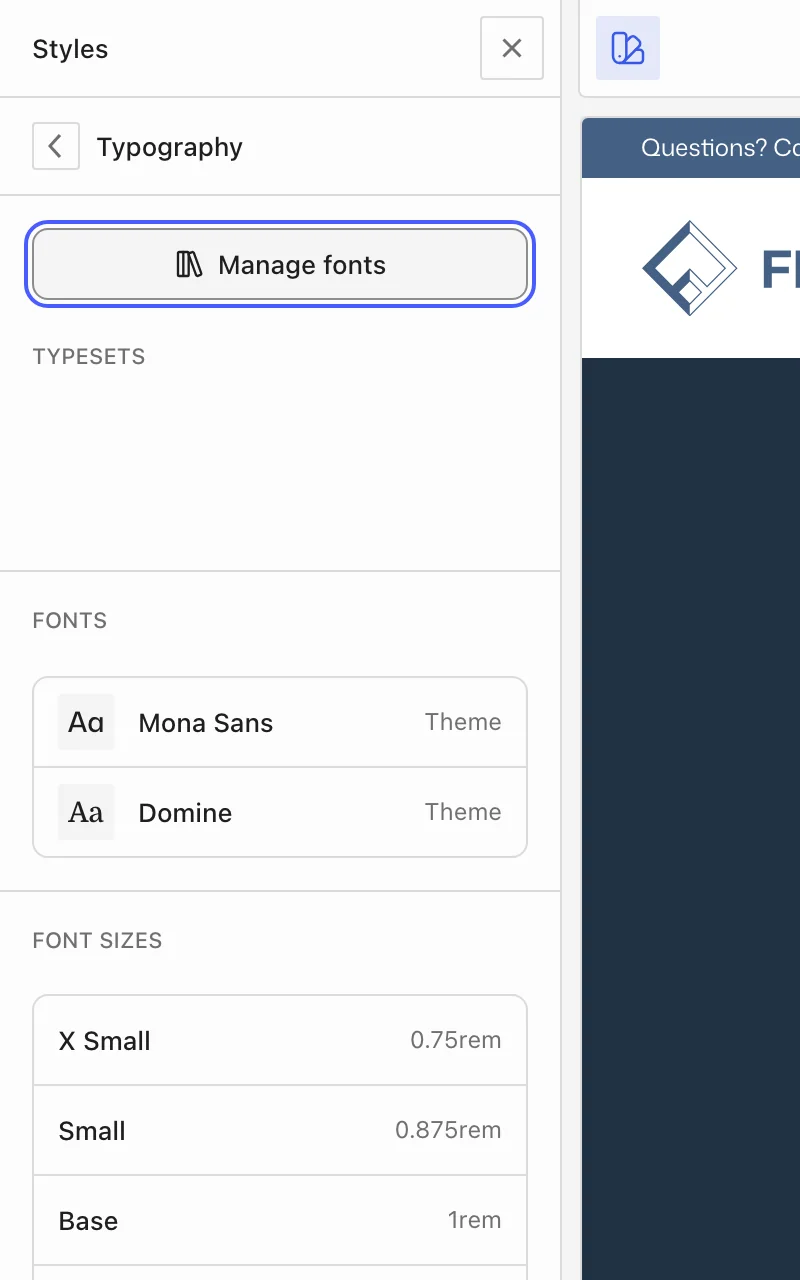
- Choose Styles (the palette icon) in the Builder’s top toolbar, then Typography.

The screen has a Manage fonts button and three sections: Typesets are ready-made font pairings, Fonts lists the fonts installed on the site, and Font sizes holds the size presets every block can pick from. The font, size, and weight for text, headings, links, buttons, and other elements are set under Styles → Elements.
Install a font from a collection
- At the top of the Typography screen, choose Manage fonts to open the font library.
- Pick a collection such as Google Fonts, search for the font, and select the weights and styles you need. Fewer weights mean faster pages.
- Choose Install. The font files are downloaded to your site and the font appears under Installed.
Upload your own font files
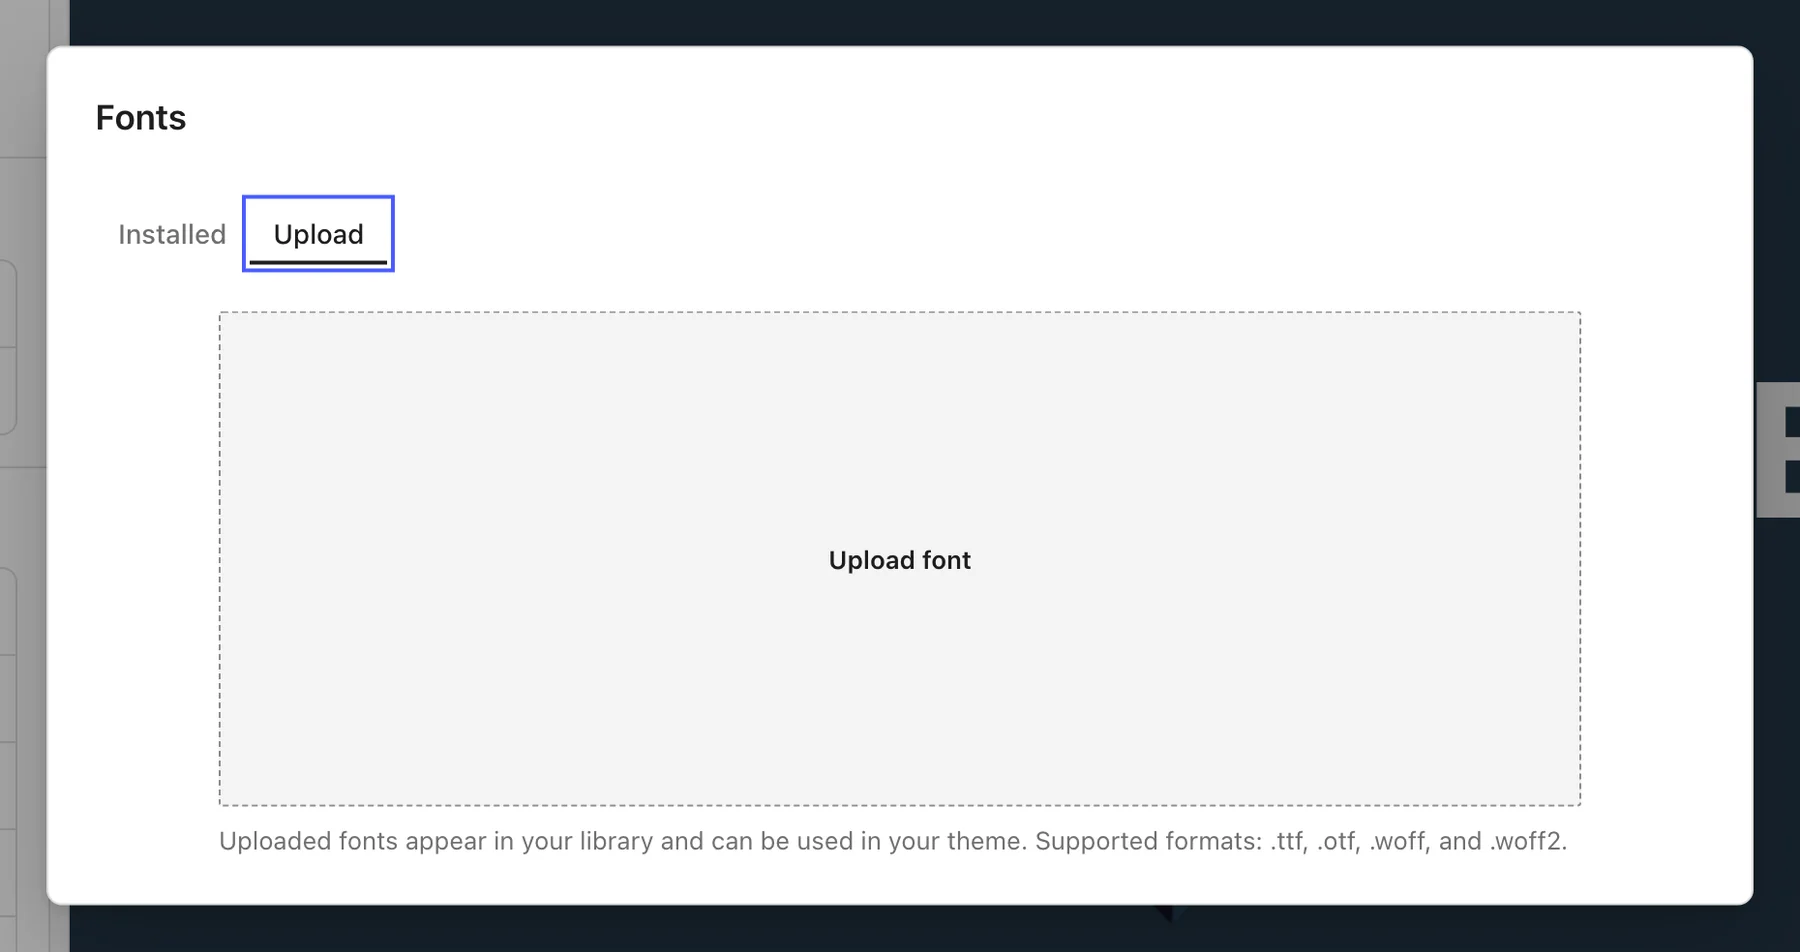
In the font library, switch to the Upload tab and drop your font files there. Use .woff2 files when you have them: they are the smallest format and every current browser supports them. Each file becomes one weight or style of the font family, and the family shows up under Installed like any other font.
Use the font
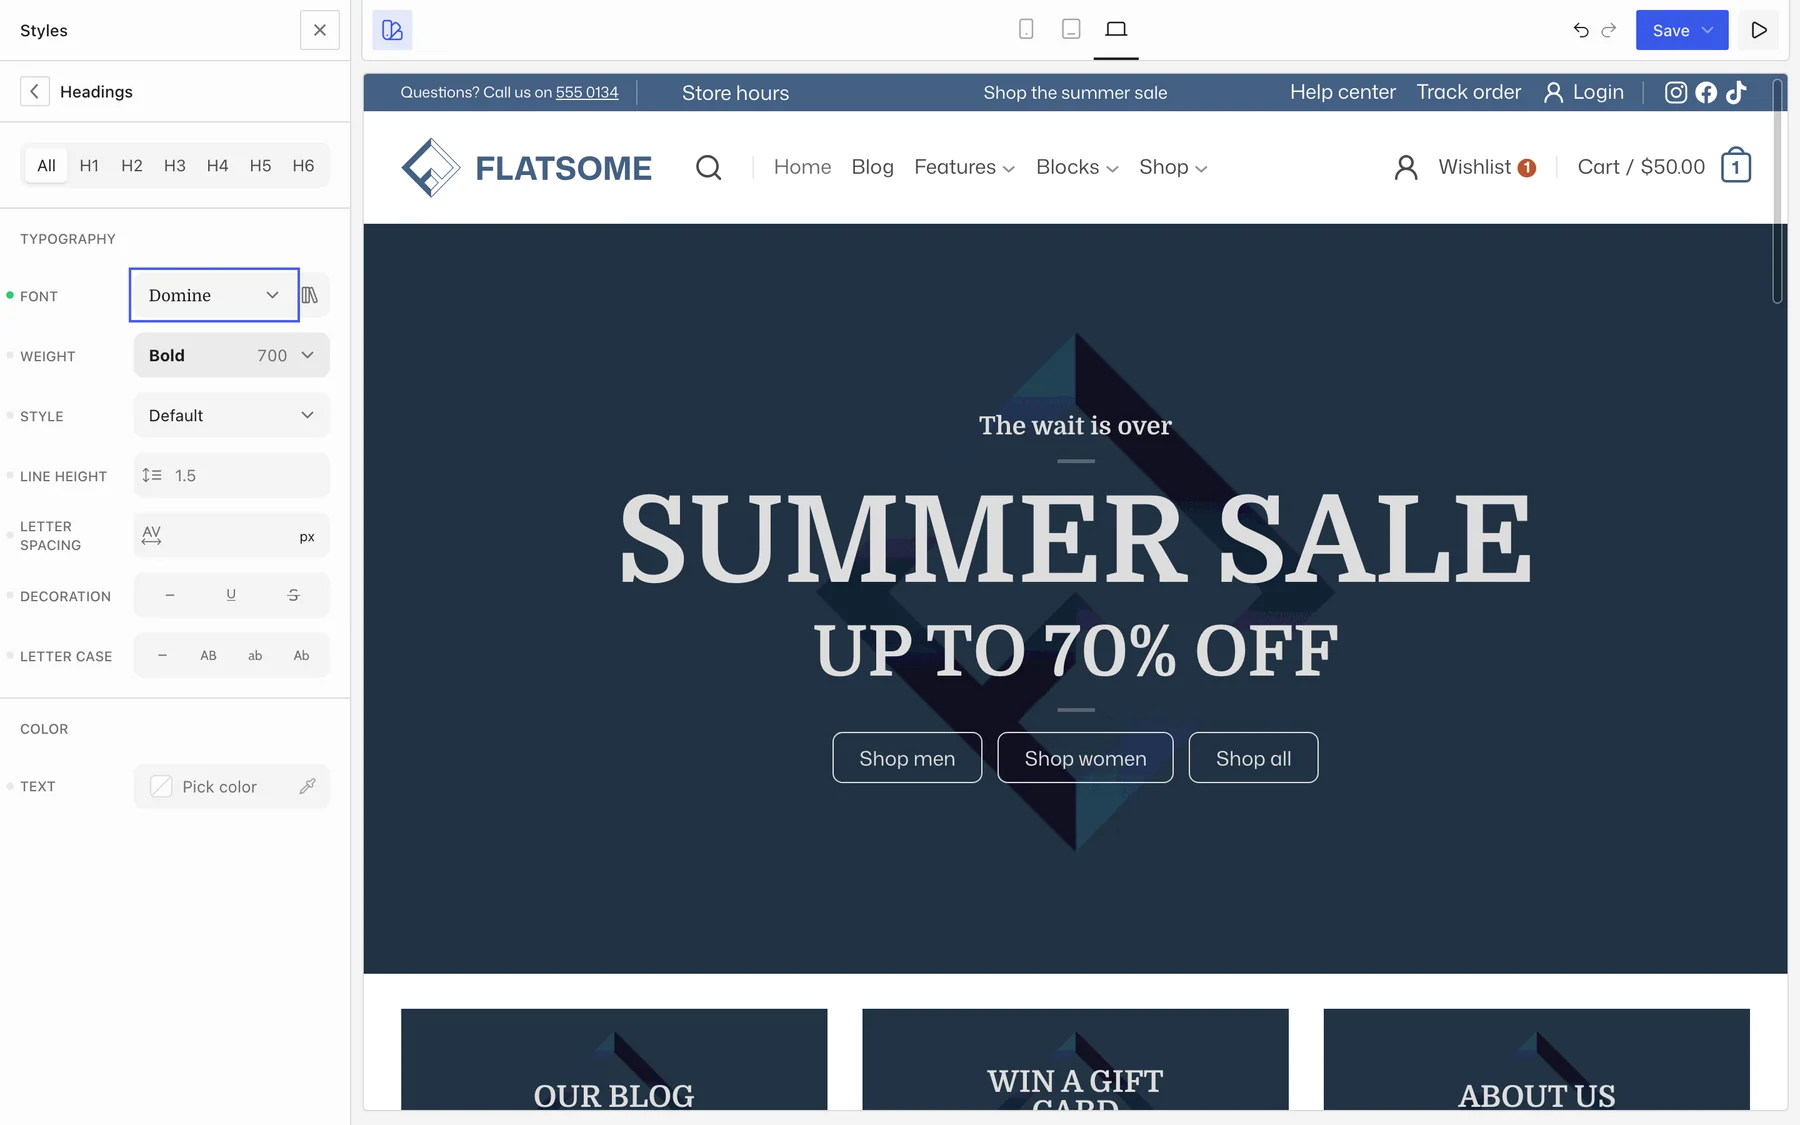
Installing a font does not change anything yet. Under Styles → Elements, pick the element you want to change (for example Text or Headings) and select the font from the font family list. Save, and the whole site uses it. Individual blocks can still override the font in their own typography settings.
To try a pairing without picking fonts one by one, choose a Typeset. It sets the text and heading fonts together and installs any font it needs.