


The site logo lives on the header and is set from the Builder. The favicon, called the site icon in WordPress, is set under general settings. Both accept PNG and SVG files.
Set the logo
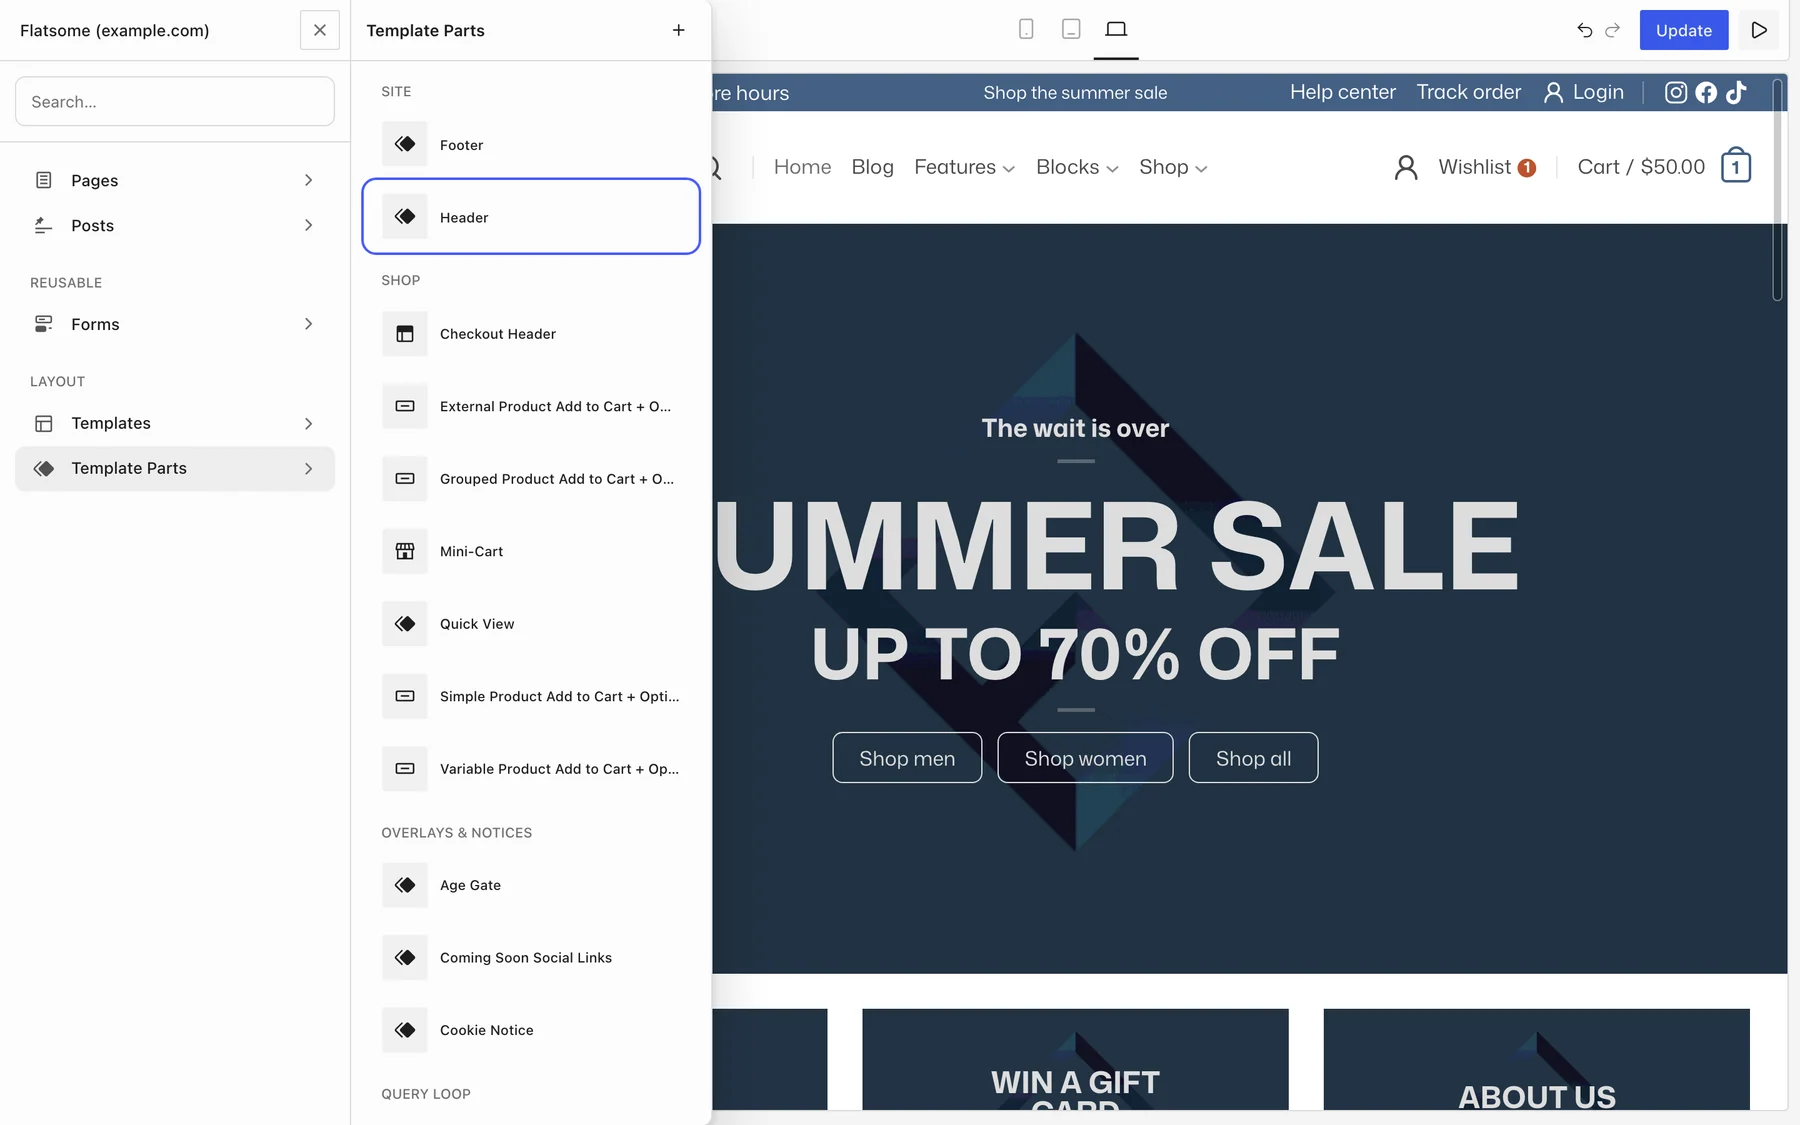
- Open the Builder and go to Template Parts → Header.
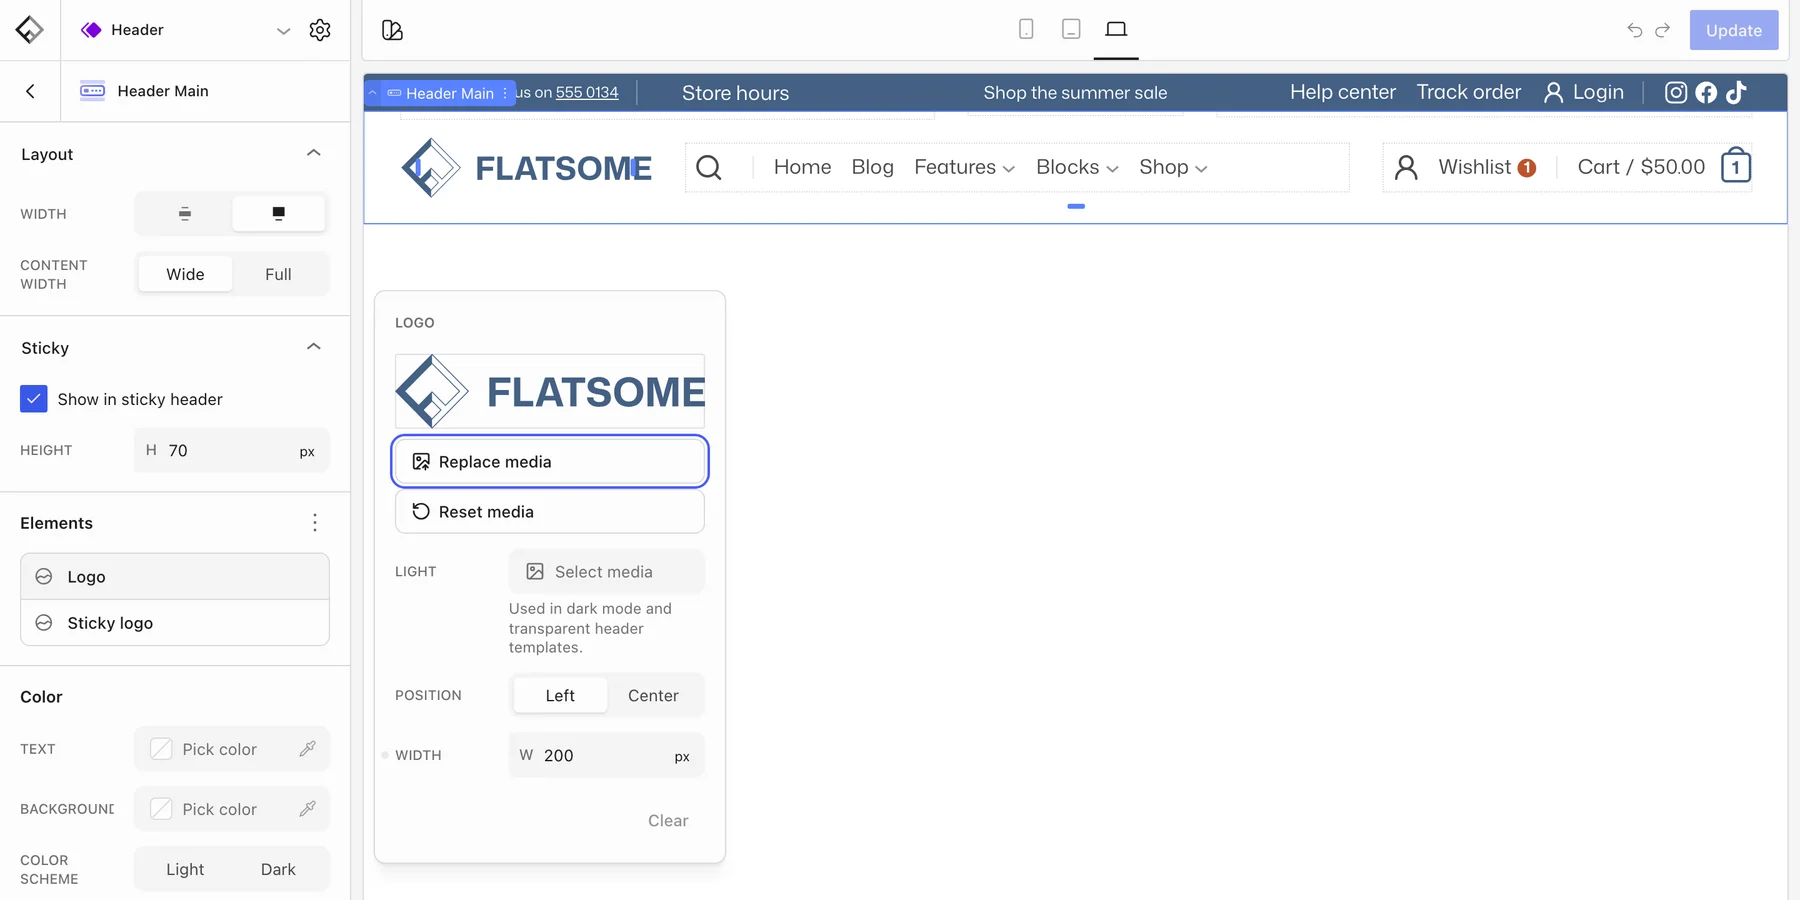
- Select the Header Main block and choose Logo under Elements.
- In the Logo popover, choose an image with Select media, or Replace media if one is set. This is the site logo used everywhere, including emails and the login page.
- Set Position to Left or Center and adjust Width per breakpoint if the logo is too large on phones.
- Choose Update to save the template part.
SVG logos are inlined, so they stay sharp at any size and can follow theme colors. The site title is shown as text until a logo is set.
Light and sticky logos
- Light: a white or light version used in dark mode and on transparent header templates. Set it in the same Logo popover.
- Sticky logo: an alternative image for the sticky header, often a smaller mark. It has its own Image, Position, and Width in the Sticky logo panel.
Set the favicon
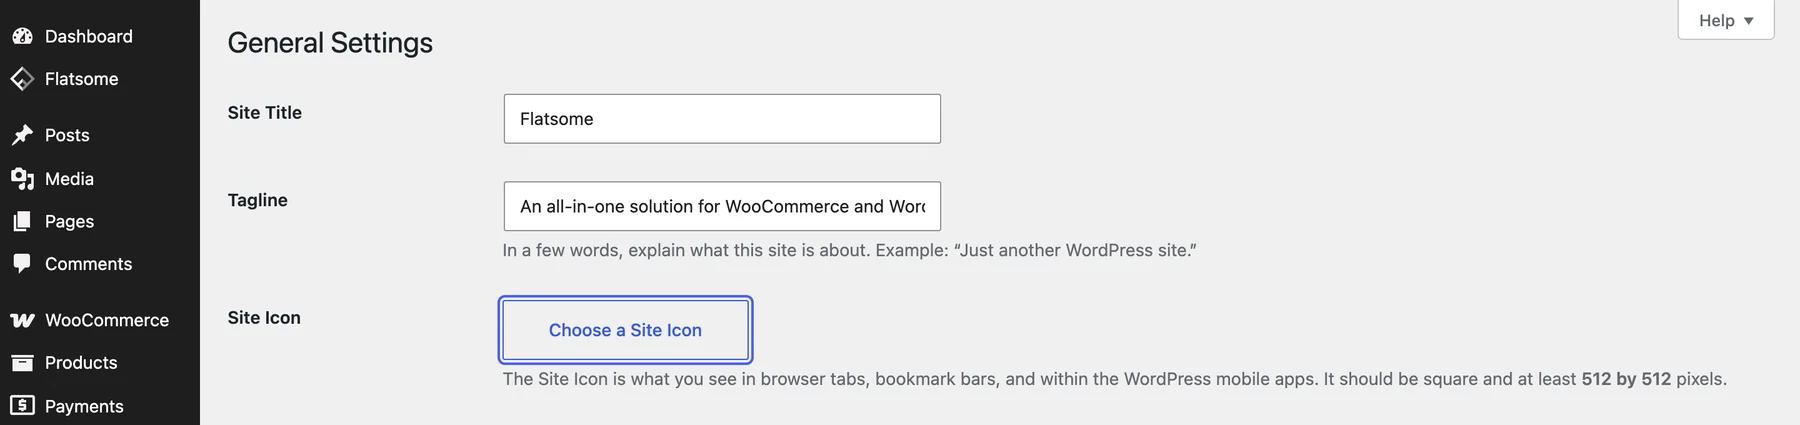
Go to Settings → General → Site Icon and upload a square image of at least 512 by 512 pixels. WordPress uses it for browser tabs, bookmarks, and home screen icons.
Logo elsewhere
To show a logo in the footer or on a landing page, add the Logo block. It takes its own image, height, and link, so it does not have to match the header.