


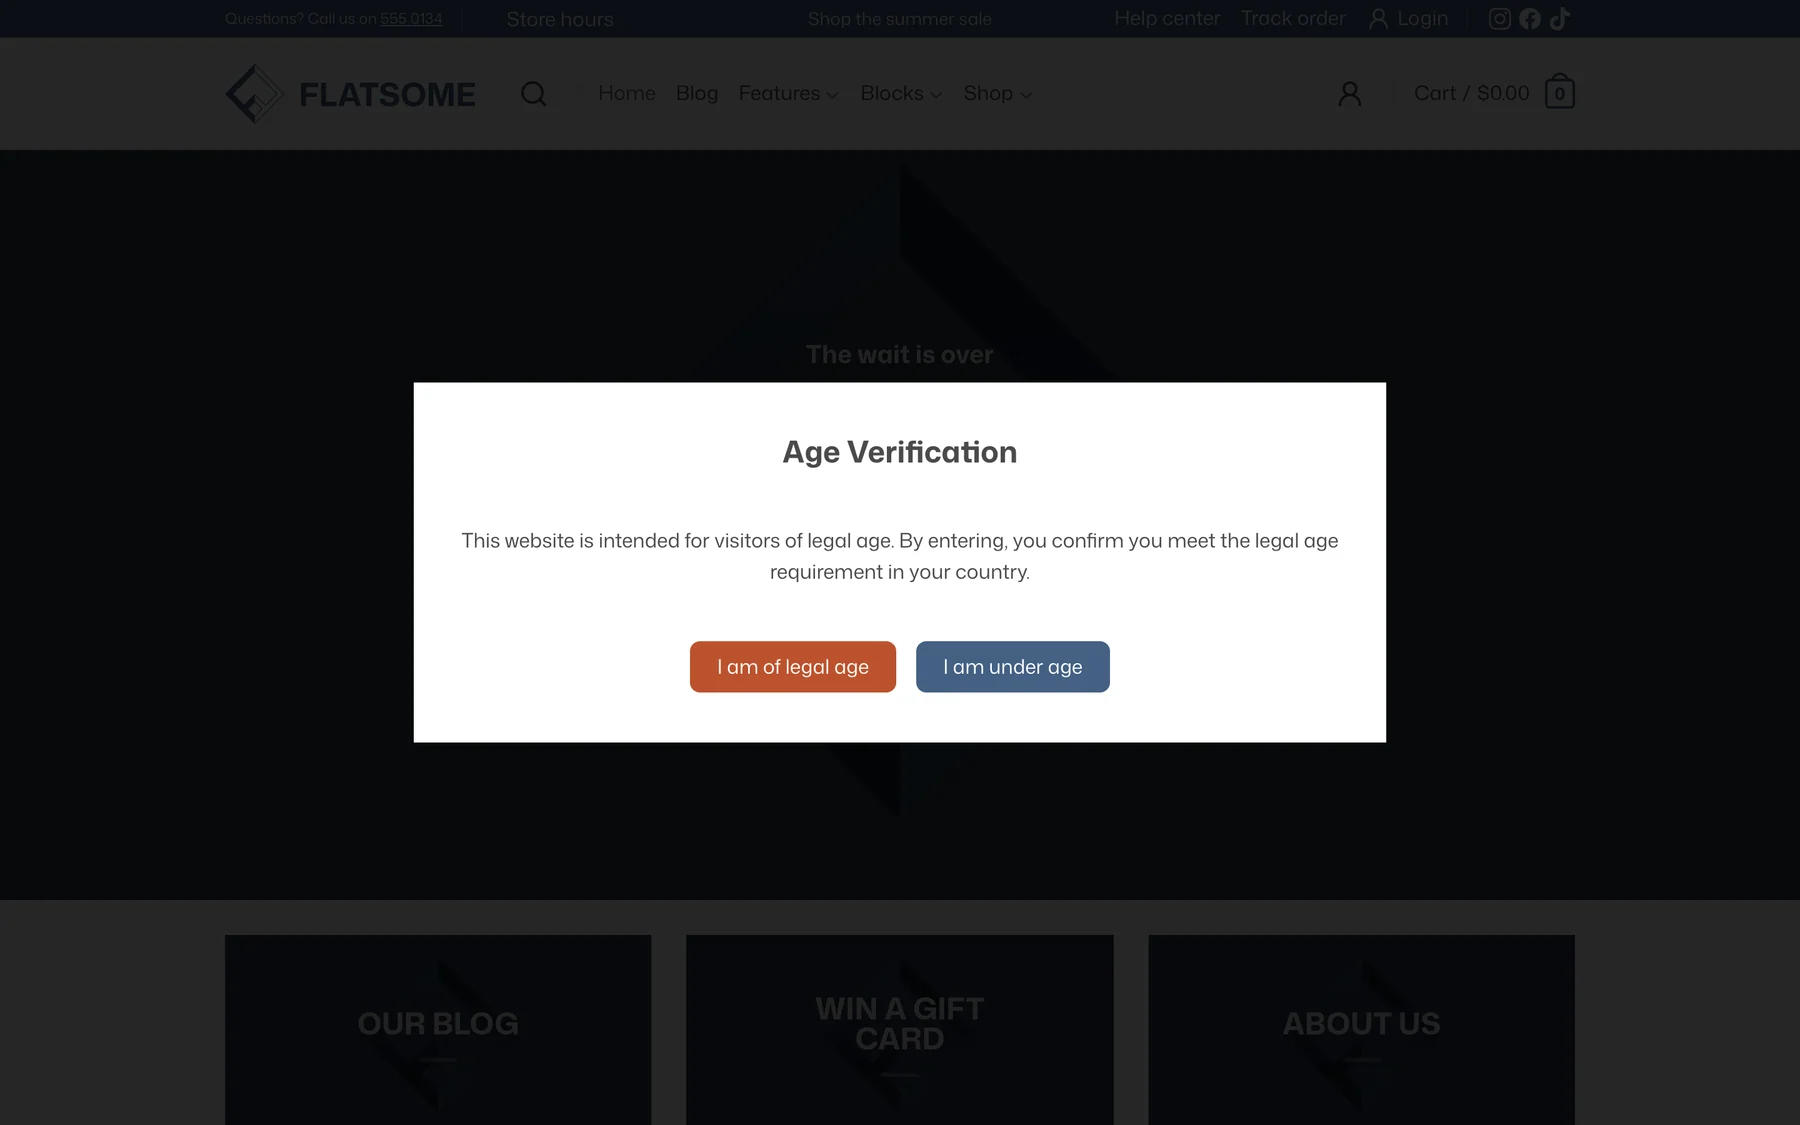
An age gate covers the whole site until the visitor confirms they are old enough. Accepting is remembered for a year; declining sends them to another site. The gate is a template part, so its text and design are yours to change.
Turn it on
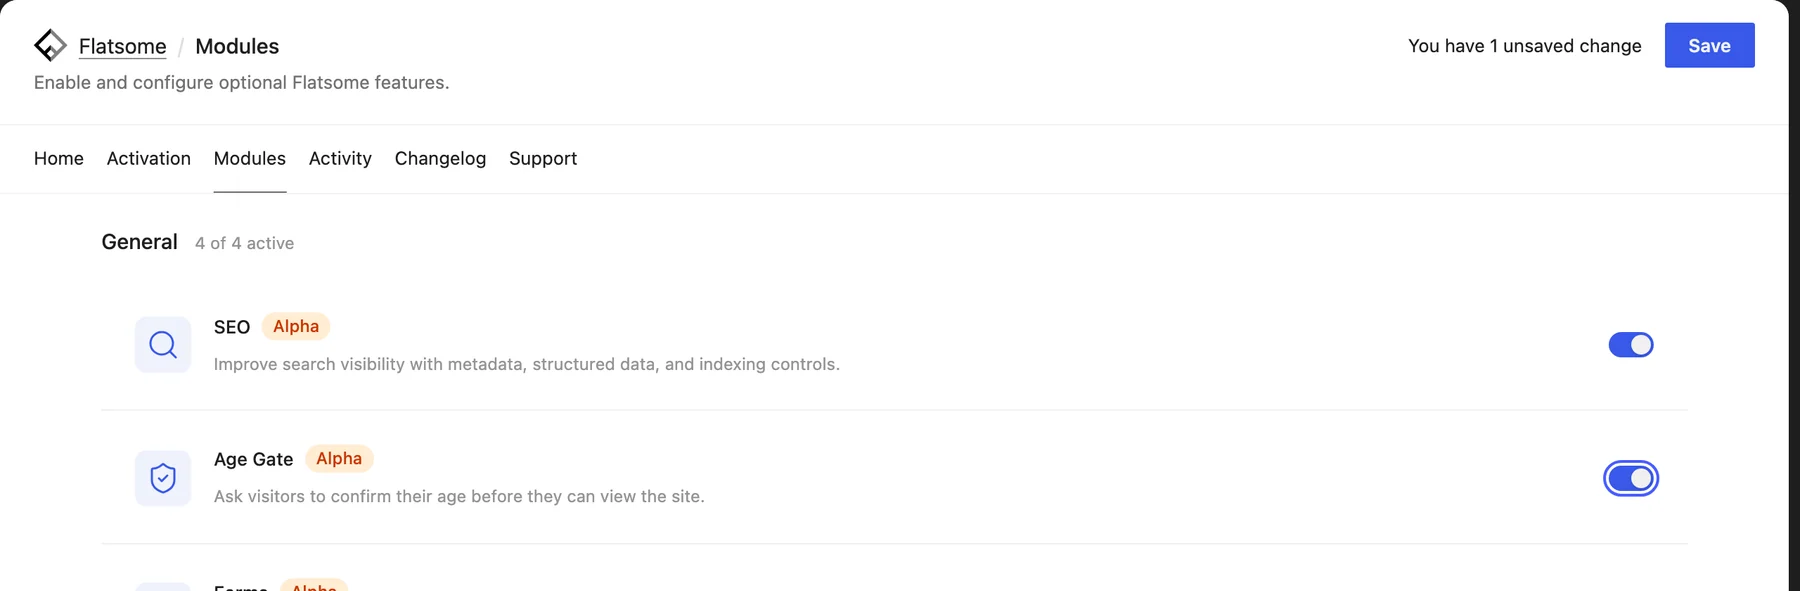
- Enable Age Gate under Flatsome → Dashboard → Modules, then choose Save. The gate is now on for every visitor.
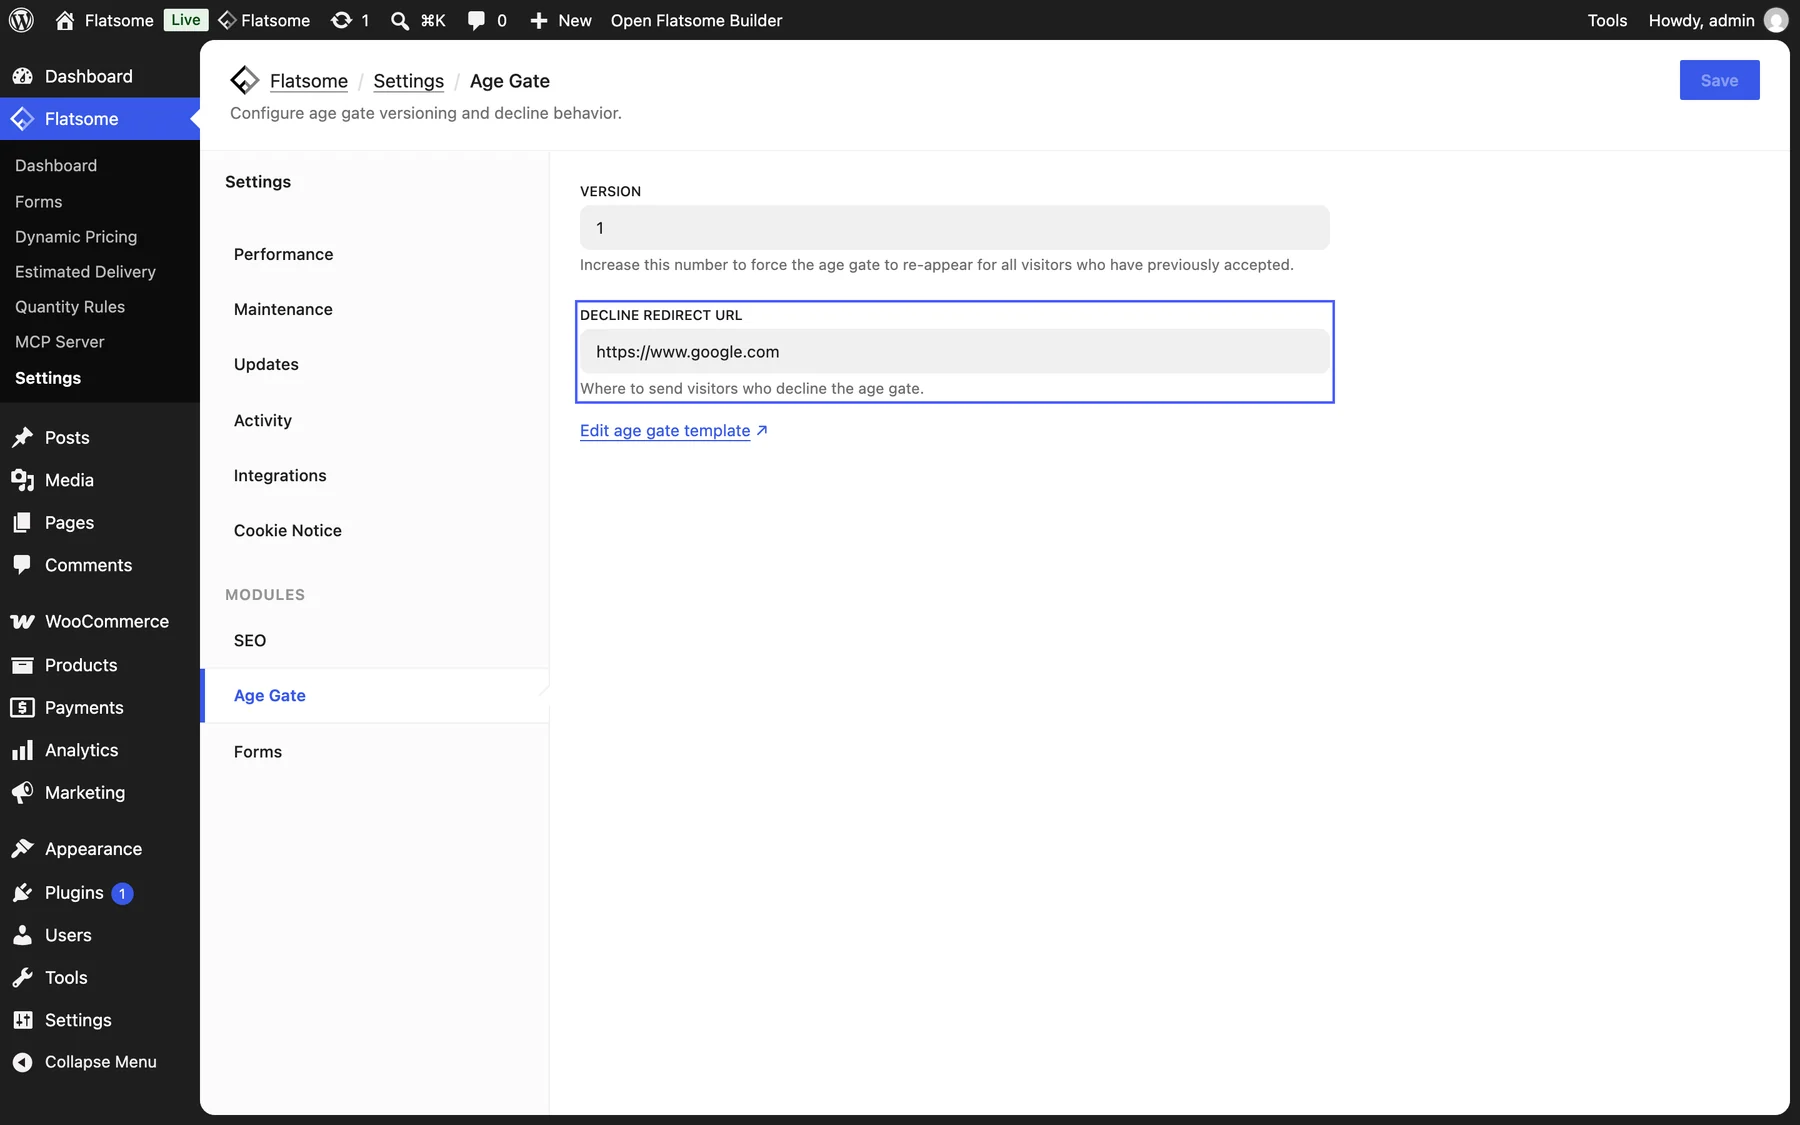
- Go to Flatsome → Settings → Age Gate to review the settings.
- Set the Decline redirect URL, where visitors go when they choose the decline button.
Edit the gate
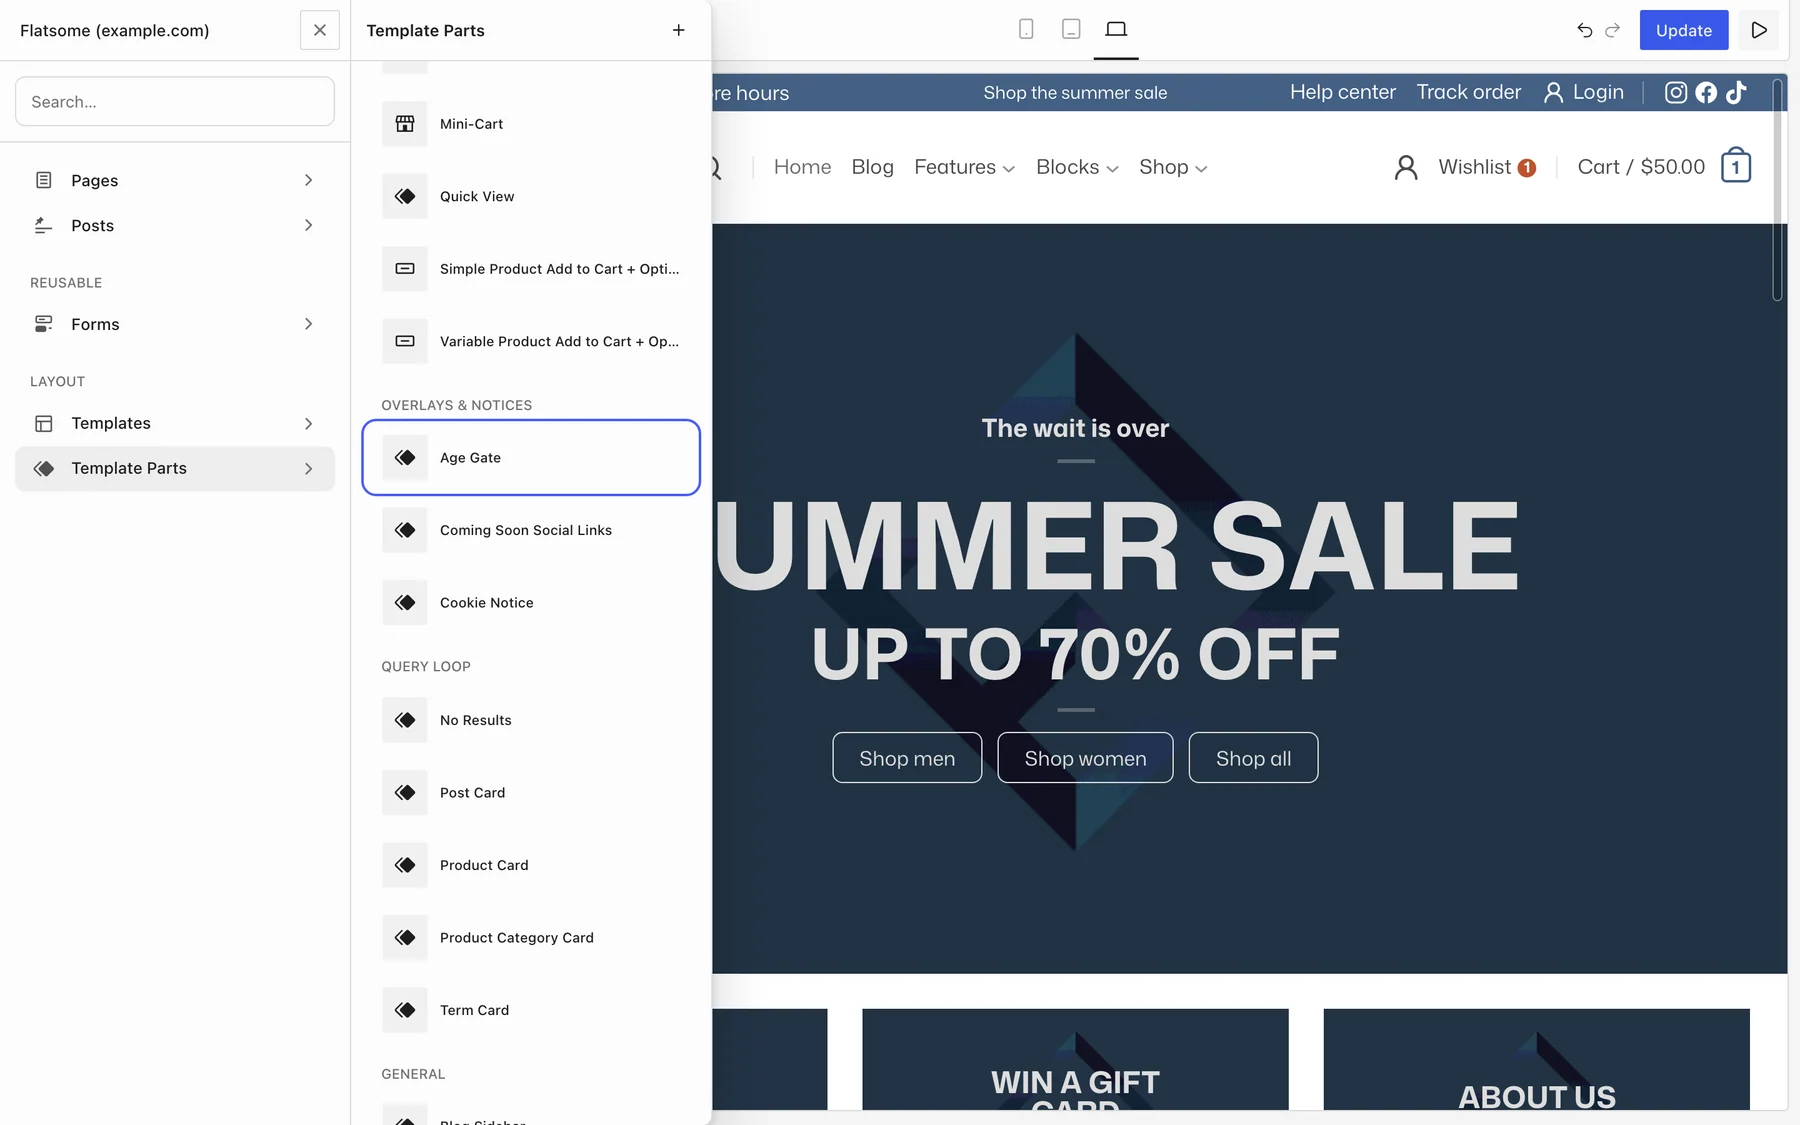
Choose Edit age gate template on the settings screen, or open the Age Gate template part in the Builder under Overlays & Notices. Put the required age in the text, add your logo, and style the background. The Age Gate Accept and Age Gate Decline buttons do the work; keep both and change their labels as needed.
Ask again
Increase Version on the settings screen to make every visitor confirm again, for example after changing the age limit.
Search engines and caching
The page content is still rendered behind the gate, so search engines index it normally. The gate works with page caching because the accepted state is checked in the browser.