


Flatsome includes an MCP server, so AI assistants can create pages, edit templates and menus, upload media, and change settings on your site using the same blocks you use in the Builder. Every connection starts read-only and you grant more as you trust it.
Enable the MCP Server module
Go to Flatsome → Dashboard → Modules, enable MCP Server, select it, and choose Open in the details panel. Choose Connect at the top right to see the Server address, which is your site URL followed by /wp-json/flatsome/mcp. Every client uses that address.
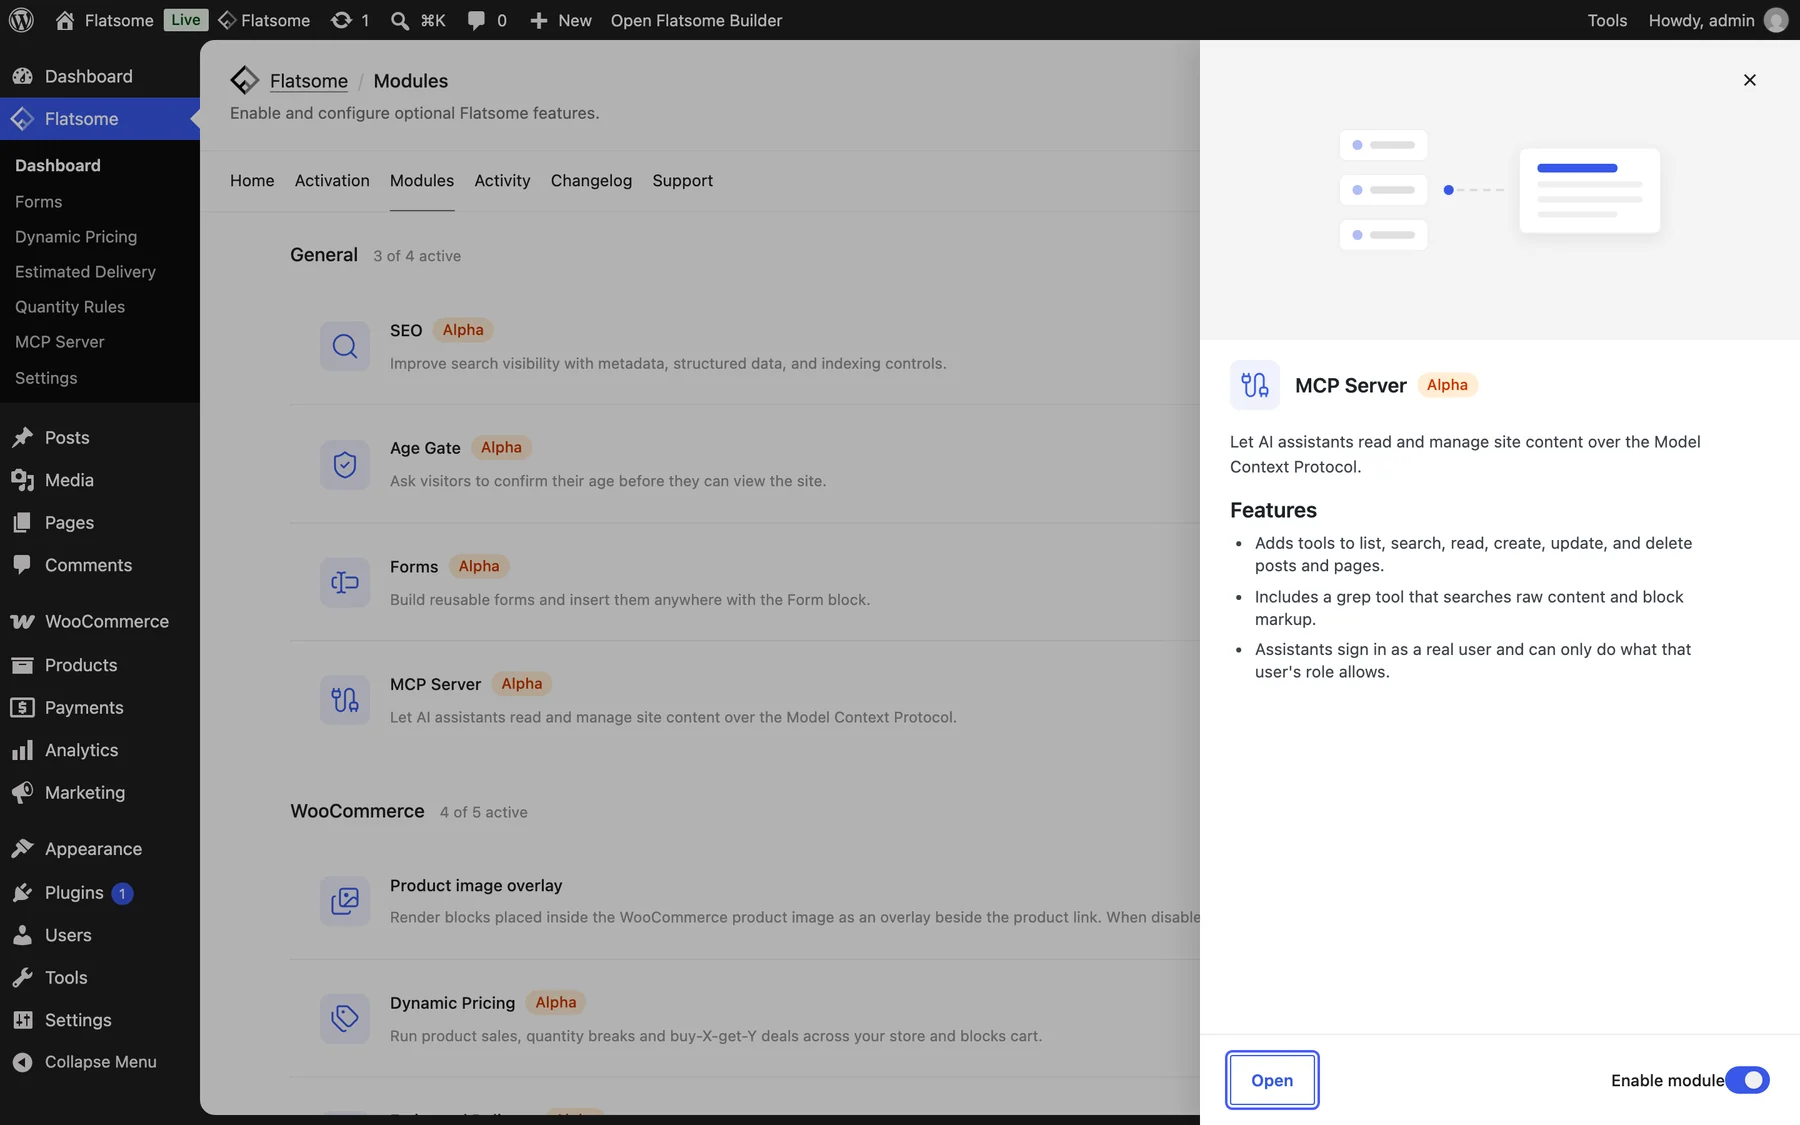
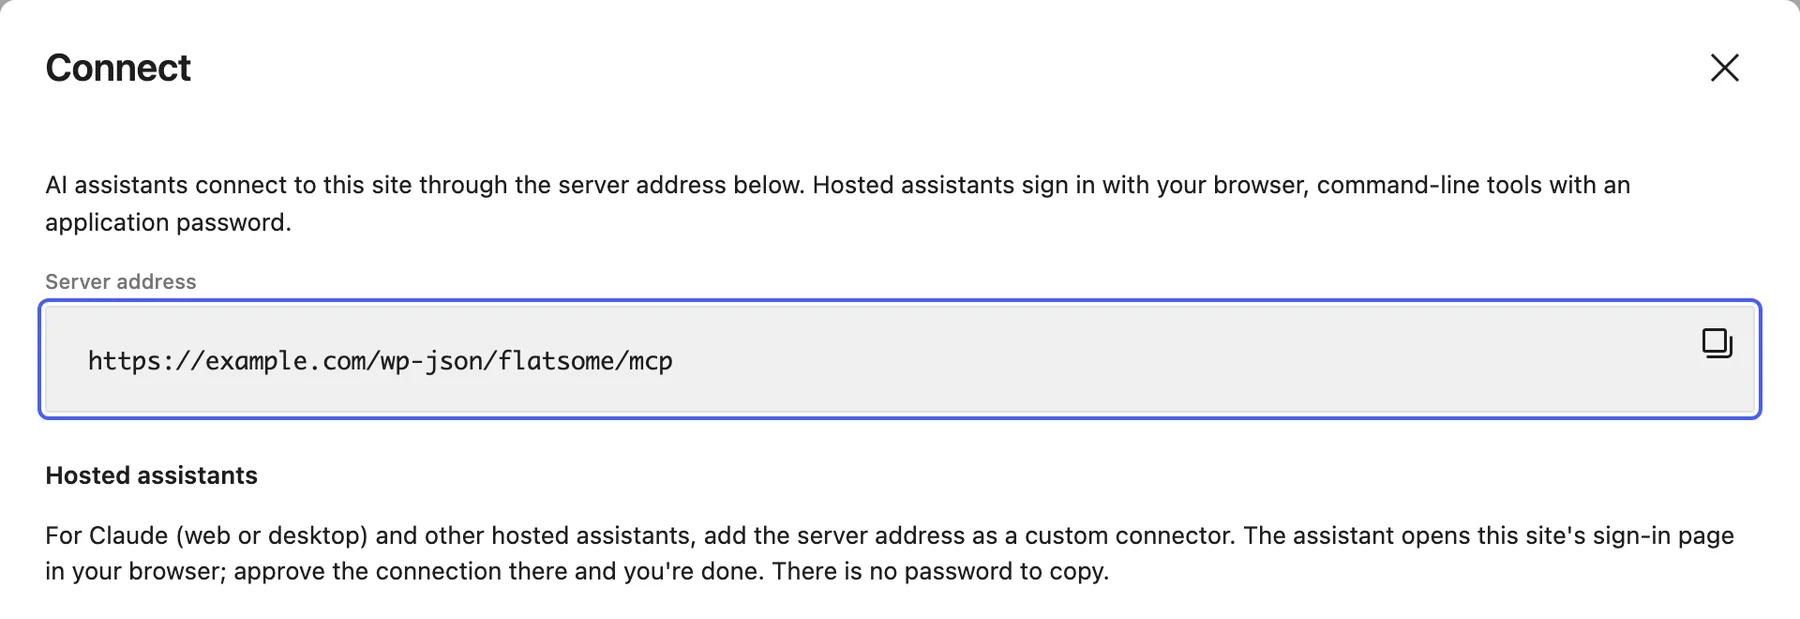
Hosted assistants
Claude, ChatGPT, Mistral Vibe, and other hosted assistants connect through your site’s sign-in page, so there is no password to copy. Add the server address as a custom connector, and when the assistant opens your site in the browser, sign in and choose Allow access. Pick your assistant for the exact steps.
- In Claude on the web or in the desktop app, go to Customize → Connectors.
- Choose +, then Add custom connector.
- Enter a name, such as your site name, and paste the server address. Leave Advanced settings empty and choose Add.
- Choose Connect next to the new connector. Sign in to your site and choose Allow access.
- In a chat, open the + menu, choose Connectors, and turn on your site.
The Free plan allows one custom connector. On Team and Enterprise plans, an owner first adds the connector under Organization settings → Connectors by choosing Add, then Custom and Web. Members then choose Connect under Customize → Connectors.
Every new connection starts read-only. Administrators can allow changes and deletions on the approval screen, or later in the connections list.
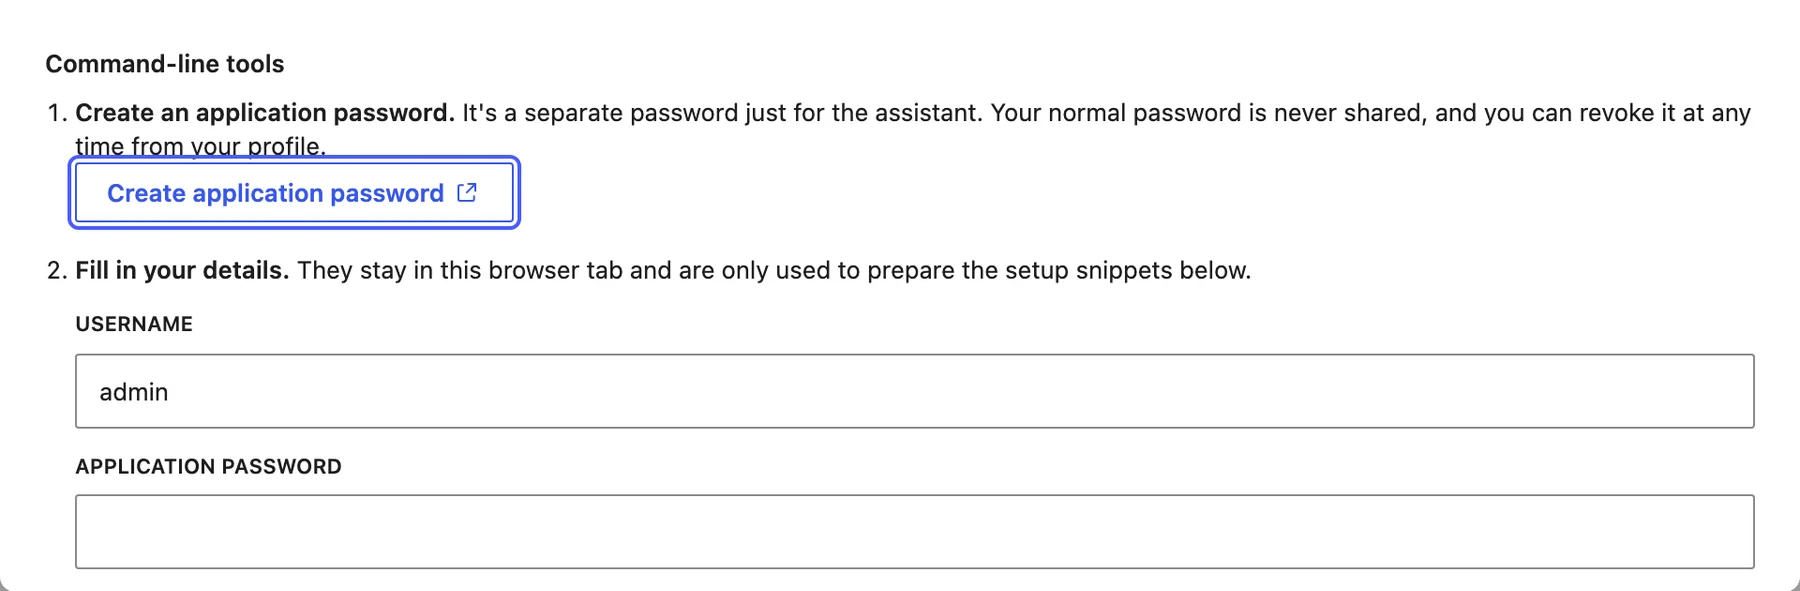
Command-line tools
- In the Connect dialog under Command-line tools, choose Create application password. WordPress opens your profile with the application name filled in; create the password and copy it.
- Back in the Connect dialog, fill in your username, the application password, and a connection name that tells you later which tool this is.
- Copy the snippet for your tool: a
claude mcp addcommand for Claude Code, a block for the Codex configuration file, or the authorization header for any other MCP client.
Decide what a connection may do
Every assistant that connects appears in the connections list on the MCP screen with the user it acts as, when it was first seen, and when it was last used. Select a connection to change its access:
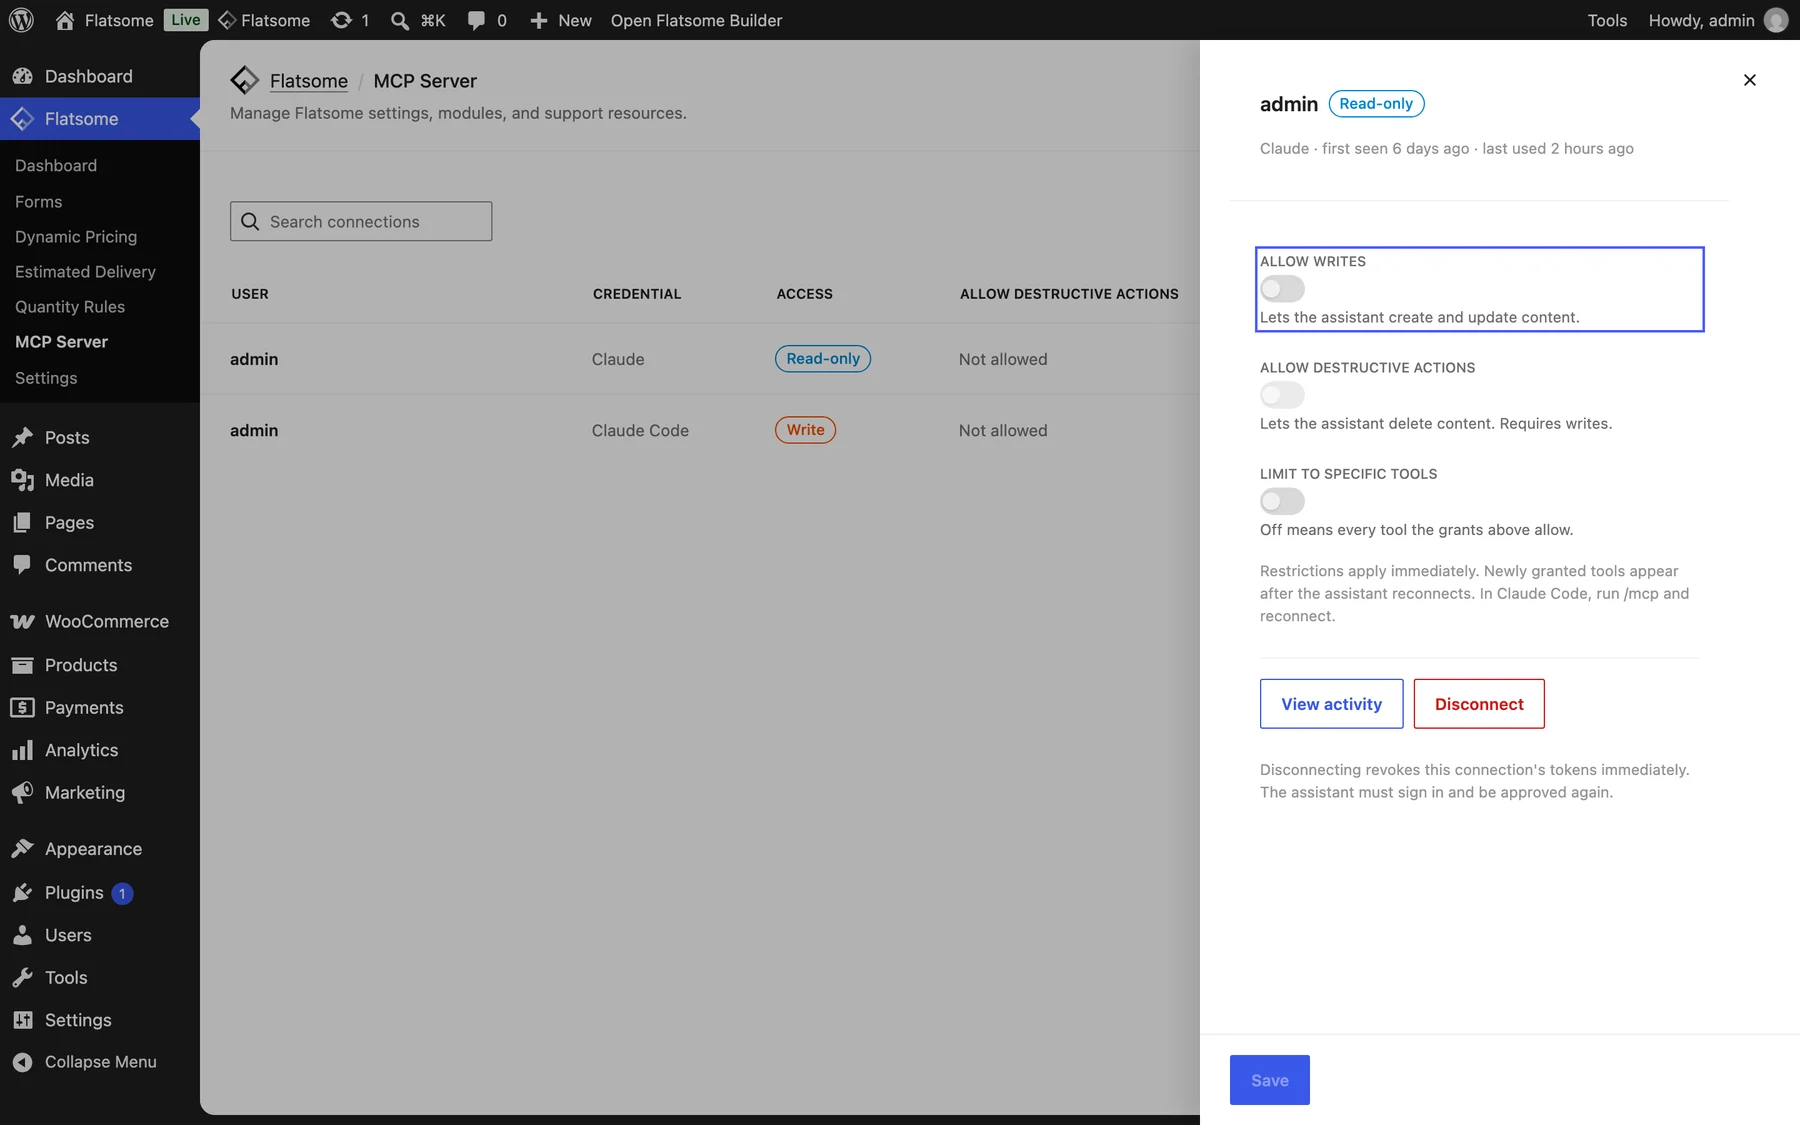
- Read-only (default): shown as a badge while no switch is on. It can read content and settings but not change anything.
- Allow writes: it can create and update content.
- Allow destructive actions: it can also delete content. Requires writes.
- Limit to specific tools: restrict the connection to a chosen set of tools.
Changes take effect on the next request. Reconnect the client to refresh its tool list. The assistant can never do more than the WordPress user it signed in as. Disconnect removes a hosted connection and revokes its access. For an application password connection, Remove clears its grants and Revoke application password revokes the password. View activity shows everything a connection has done.
If the assistant cannot connect
Choose Diagnostics on the MCP screen, then Run diagnostics in the dialog. It checks that the server address is reachable, that authentication works, and that nothing on the host strips the headers the client sends, and it reports what to fix.