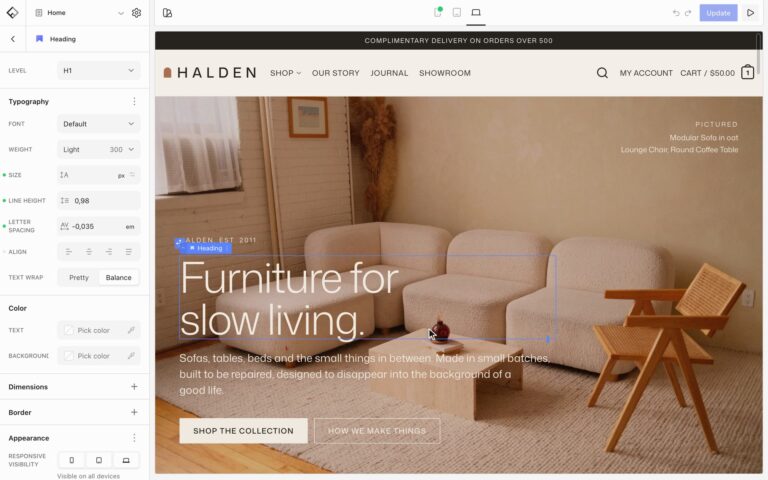
The header is a template part: one piece of layout shared by every page. It is built from ordinary blocks, so anything you can do on a page (columns, colors, visibility per screen size) you can do in the header.
Open the header
- Open the Flatsome Builder from any page.
- In the editor navigation choose Template Parts → Header.
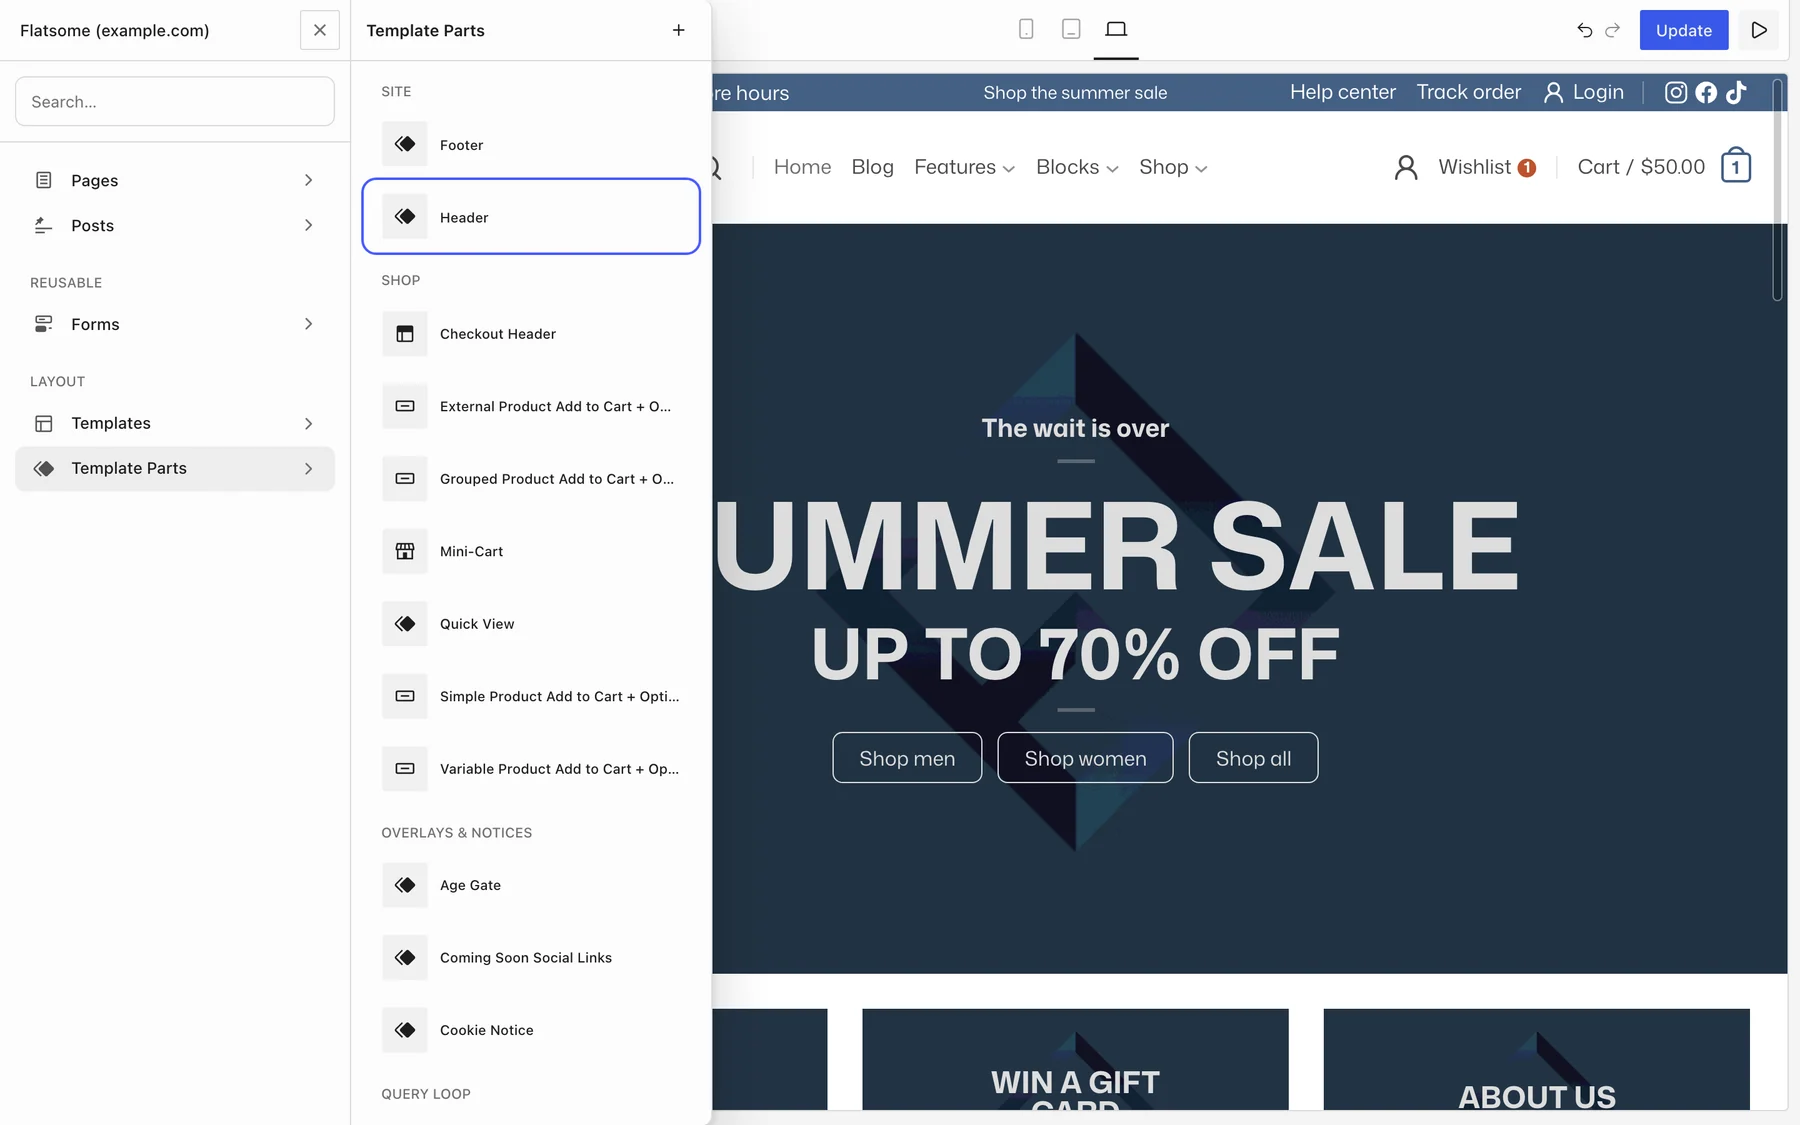
Saving the template part updates the header on every page at once.
Open from the admin bar
When you are logged in and viewing your site, hover Edit with Flatsome Builder in the admin bar and choose Edit Header. The Builder opens with the header ready to edit. In the dashboard, the same admin bar menu has Template Parts → Header instead.
Start from a ready-made header
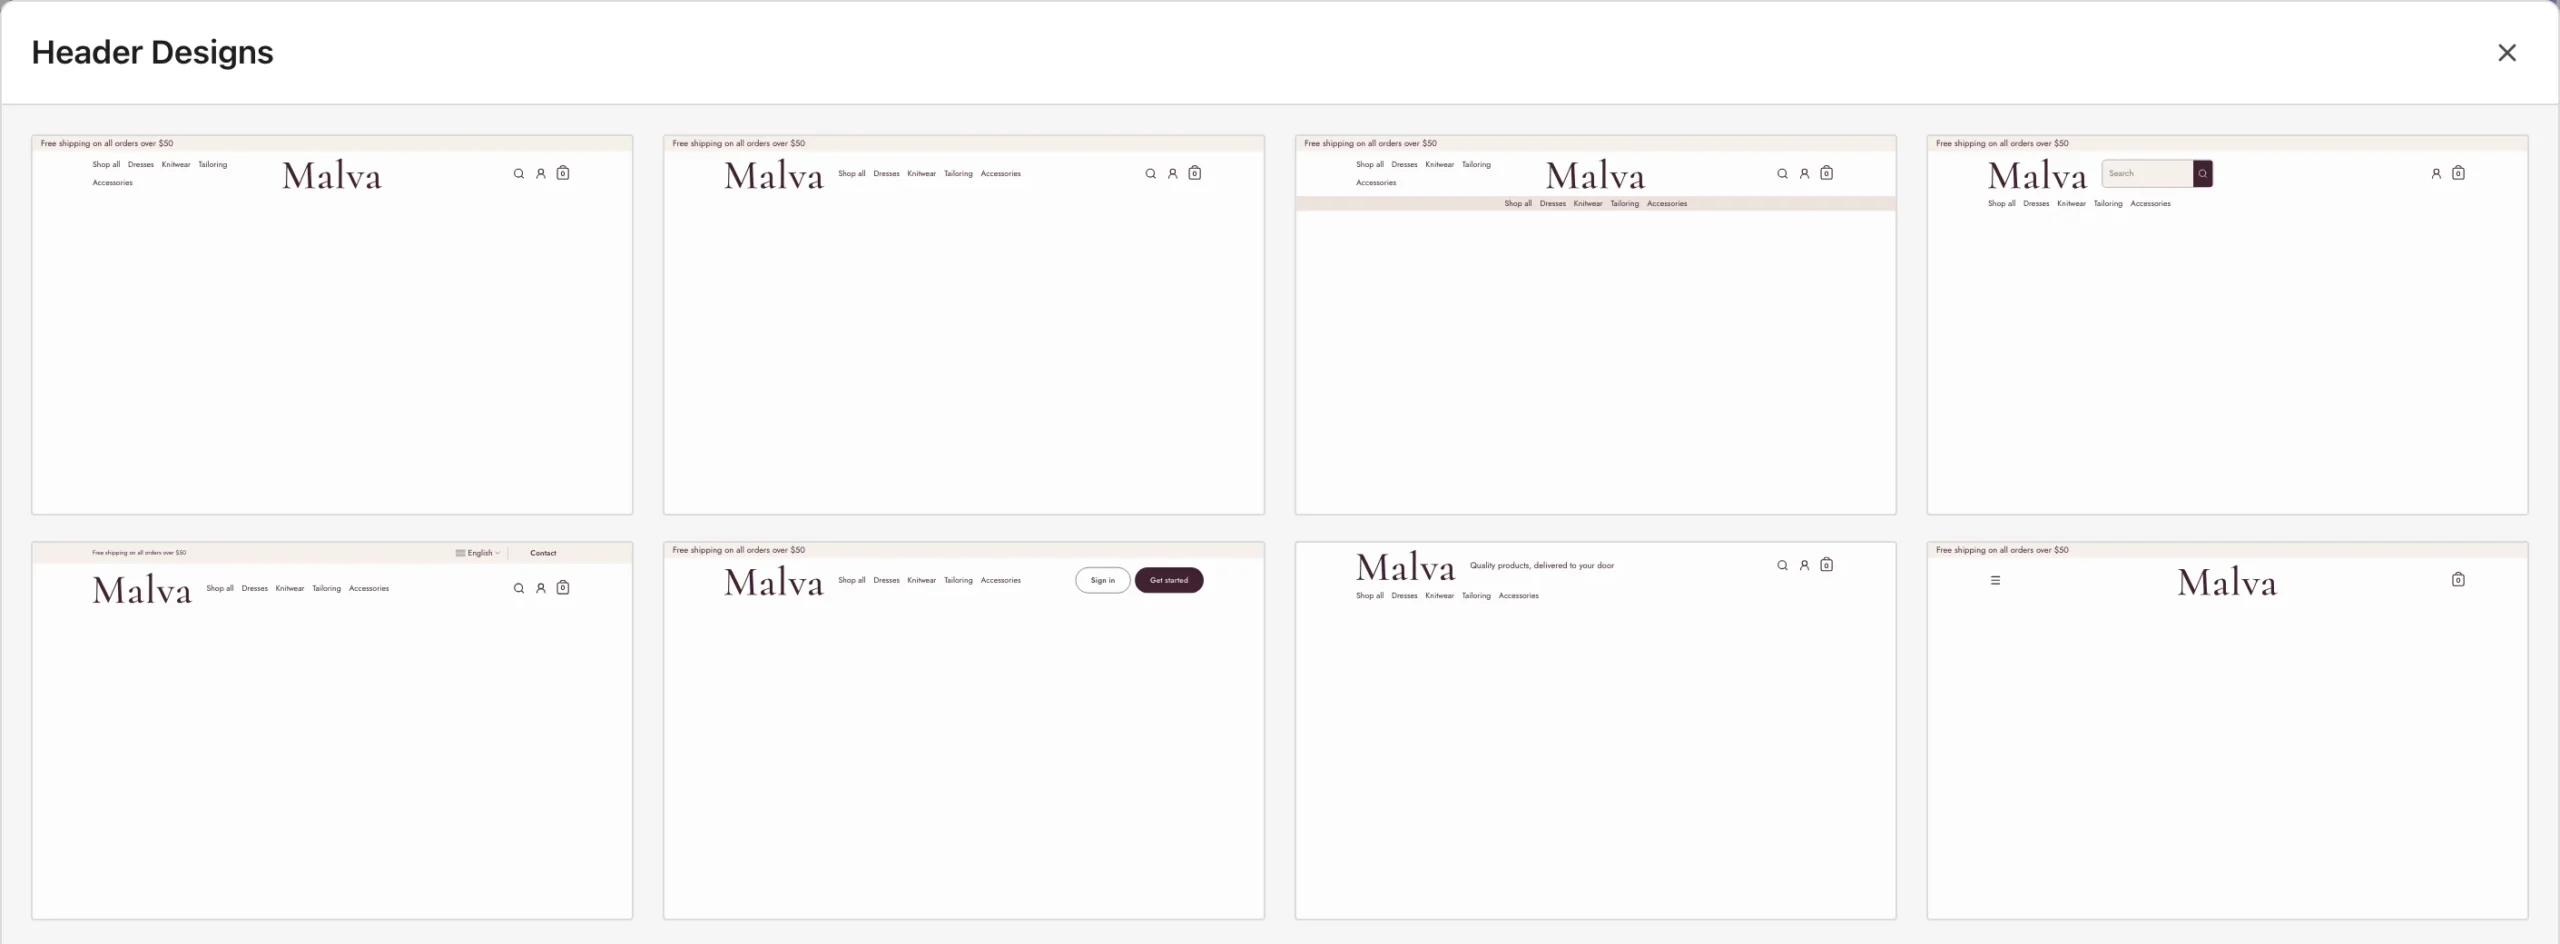
Flatsome comes with ready-made headers, such as a centered logo, a search bar, a top bar with a language switcher, or a call to action button. Each one has its logo, menu, and icons in place, and the previews use your own logo and colors.
1
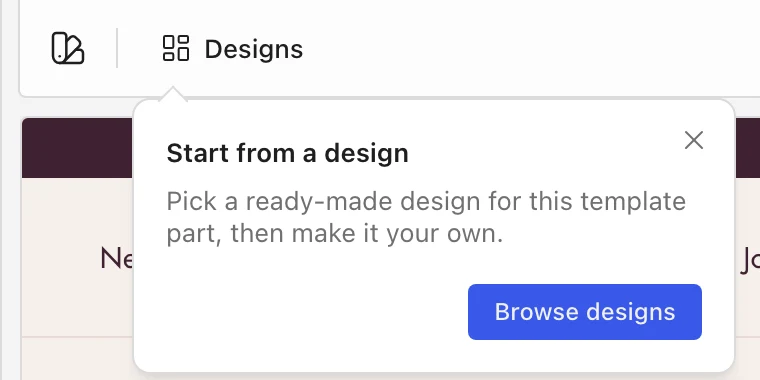
Choose Designs
With the header open in the Builder, choose Designs in the top bar.
2
Pick a design
Hover a design and choose Use design. It replaces the header you are editing.
3
Make it your own and save
Change it like any other header, then save. Nothing changes on your site until you save. The same layouts also appear when you add a new Header block, and under Header in the Patterns Library.
How the header is built
The outer Header block holds horizontal rows. Each row contains Header Columns (typically Left, Center, and Right) and each column holds the actual elements:
- Announcement Bar: a dismissible bar at the very top for promotions. A long announcement stays on one line and scrolls sideways; set Overflow to Wrap in its Layout settings to let it wrap onto more lines instead.
- Header Row: an extra row, for example a top bar with contact info and social icons.
- Header Main: the main row with the logo. There is one per header.
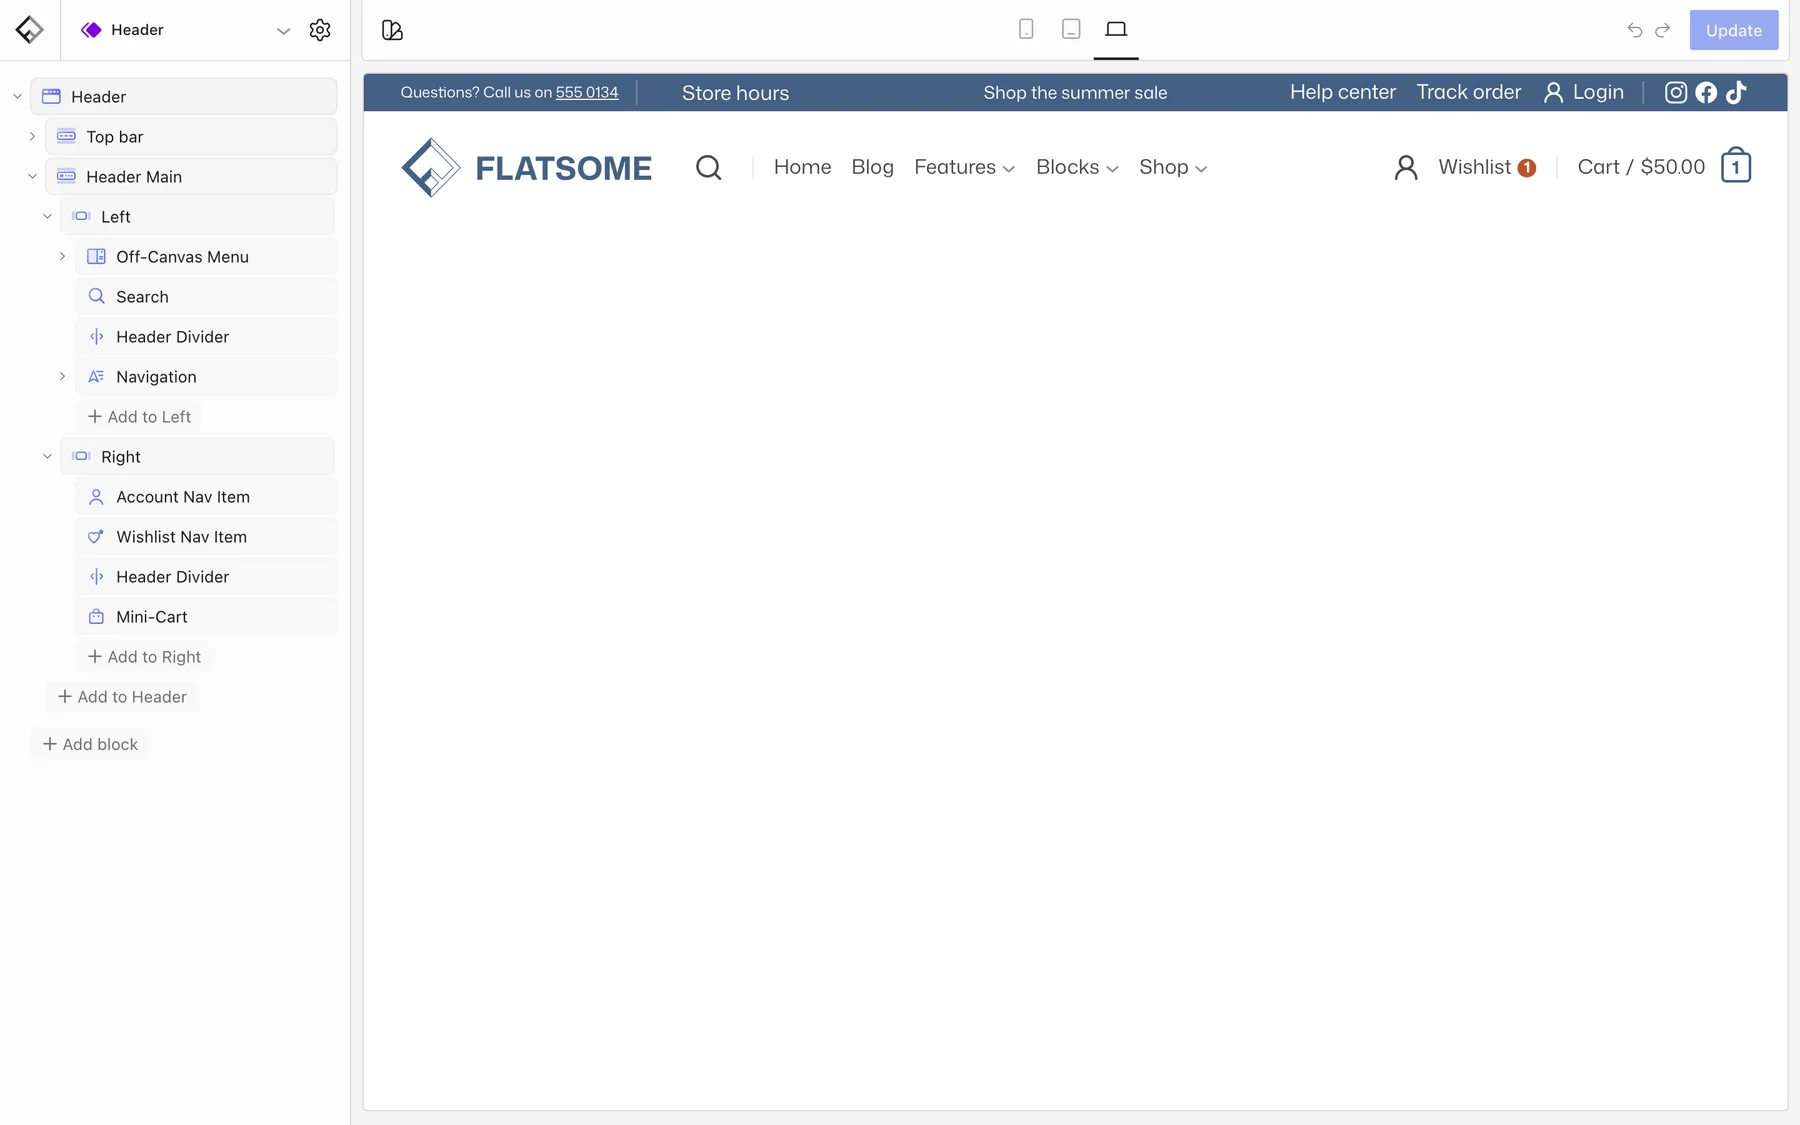
Typical elements inside the columns are Logo, Navigation, Search, Account, Mini-Cart, Wishlist Nav Item, Off-Canvas Menu, Follow Icons, Language Switcher, and Header Divider. Add, remove, and reorder them like any other block. Rows and columns have alignment, padding, background, and color scheme settings, so a dark top bar or a transparent main row is a setting, not custom CSS.
Add something from another plugin
Header columns only accept header elements, so blocks and widgets from other plugins don’t appear in the inserter there. If the plugin has a shortcode, for example a search or currency switcher plugin, add it with the HTML block, which runs shortcodes:
- Select the Header Column where it should go and add an HTML block.
- Paste the plugin’s shortcode into it. The plugin’s settings or documentation lists the shortcode.
- Save the header, and check the result on your site.
Change the logo
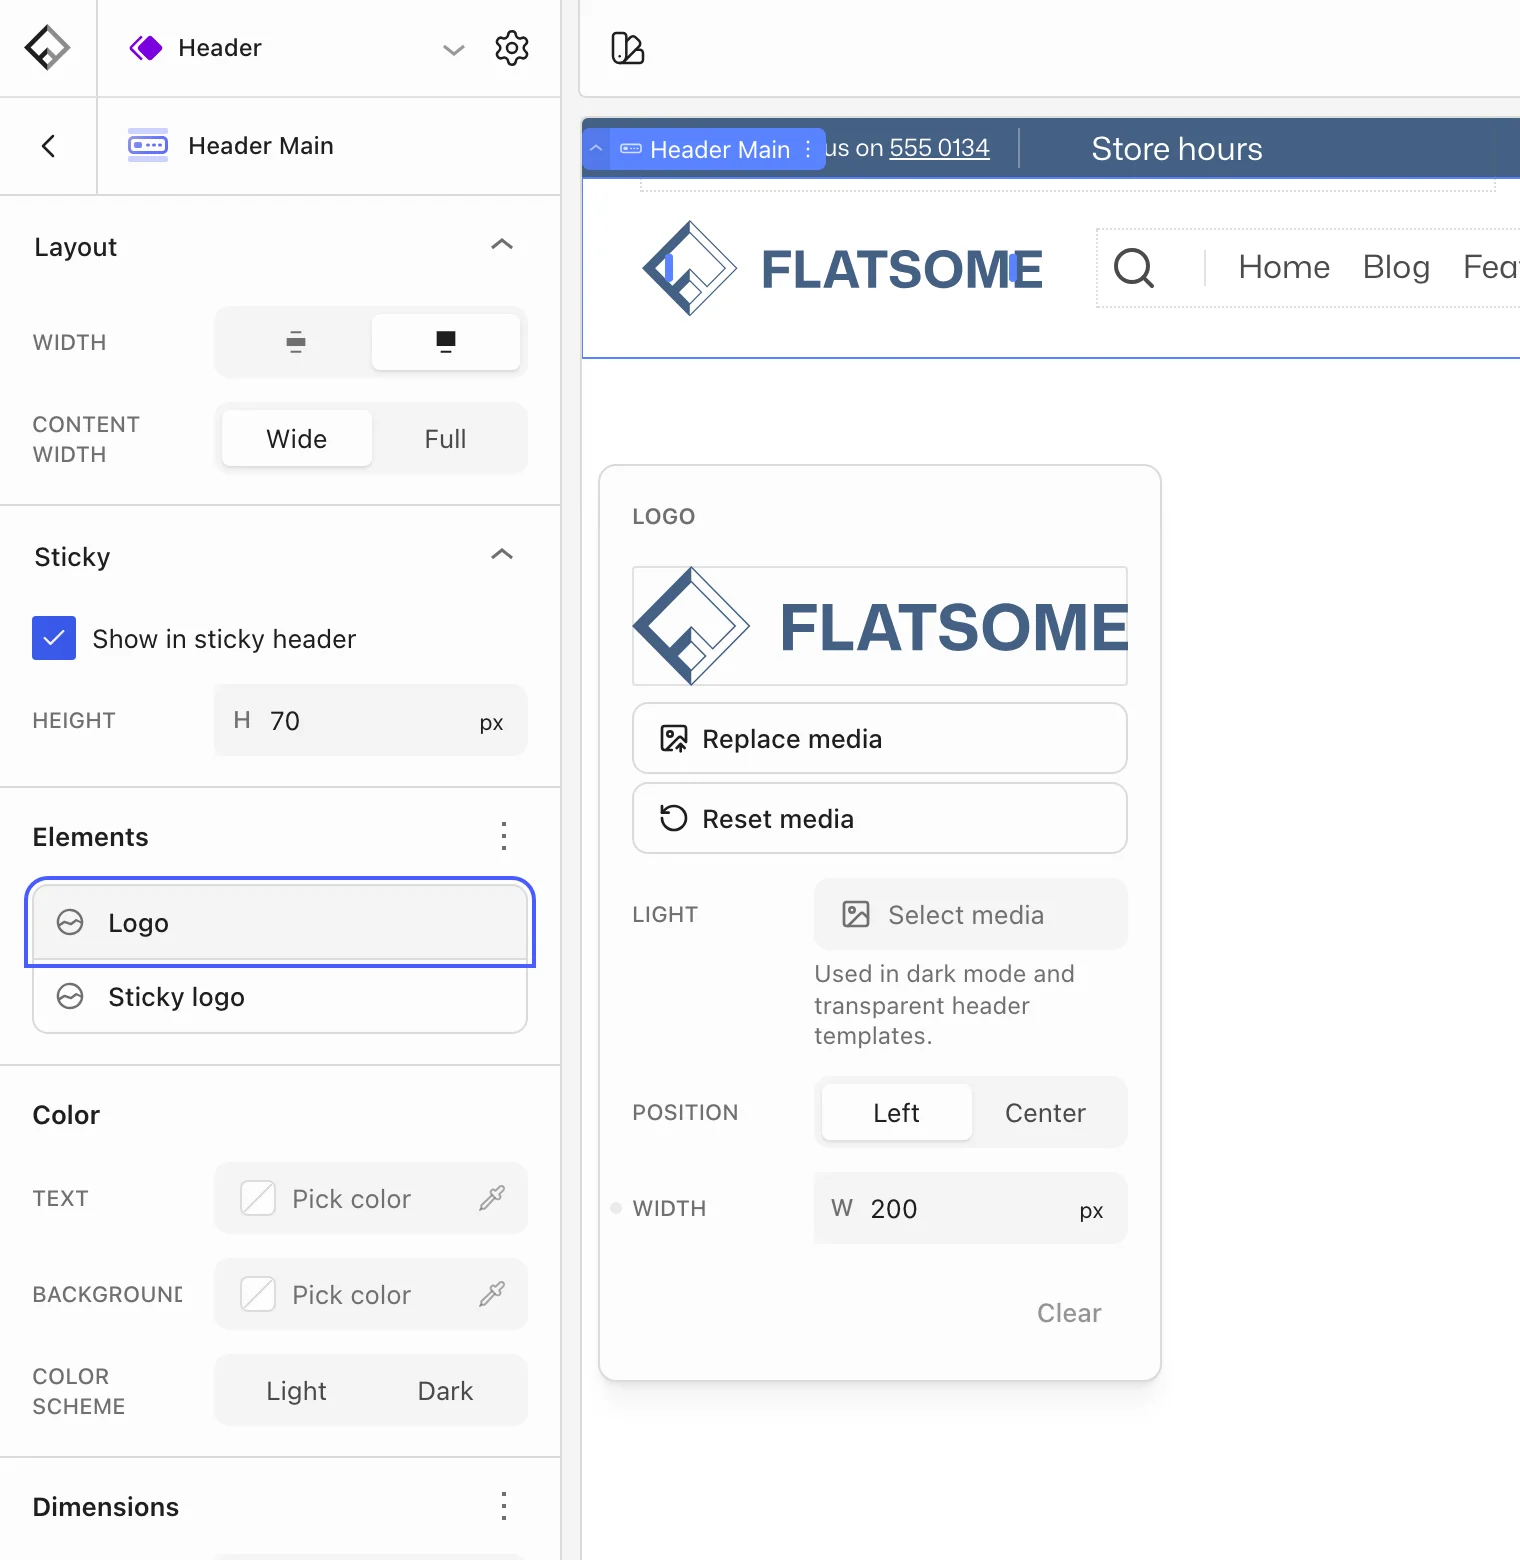
Select the Header Main block and open Elements. The Logo settings hold the logo image, its width, and its Position, and Sticky logo sets the logo used when the header is stuck. A light version of the logo can be set for dark color schemes and transparent headers. The Logo block inside the row displays whatever is set here.
The position can be different on each screen size. By default the logo sits on the left on desktop and in the center on tablet and mobile. To change it for a smaller screen, switch the preview to Tablet or Mobile in the top bar and choose Left or Center. The change applies to that size and smaller ones, and the desktop position stays as it is. See Edit for each screen size for how this works for any setting.
Make the header sticky
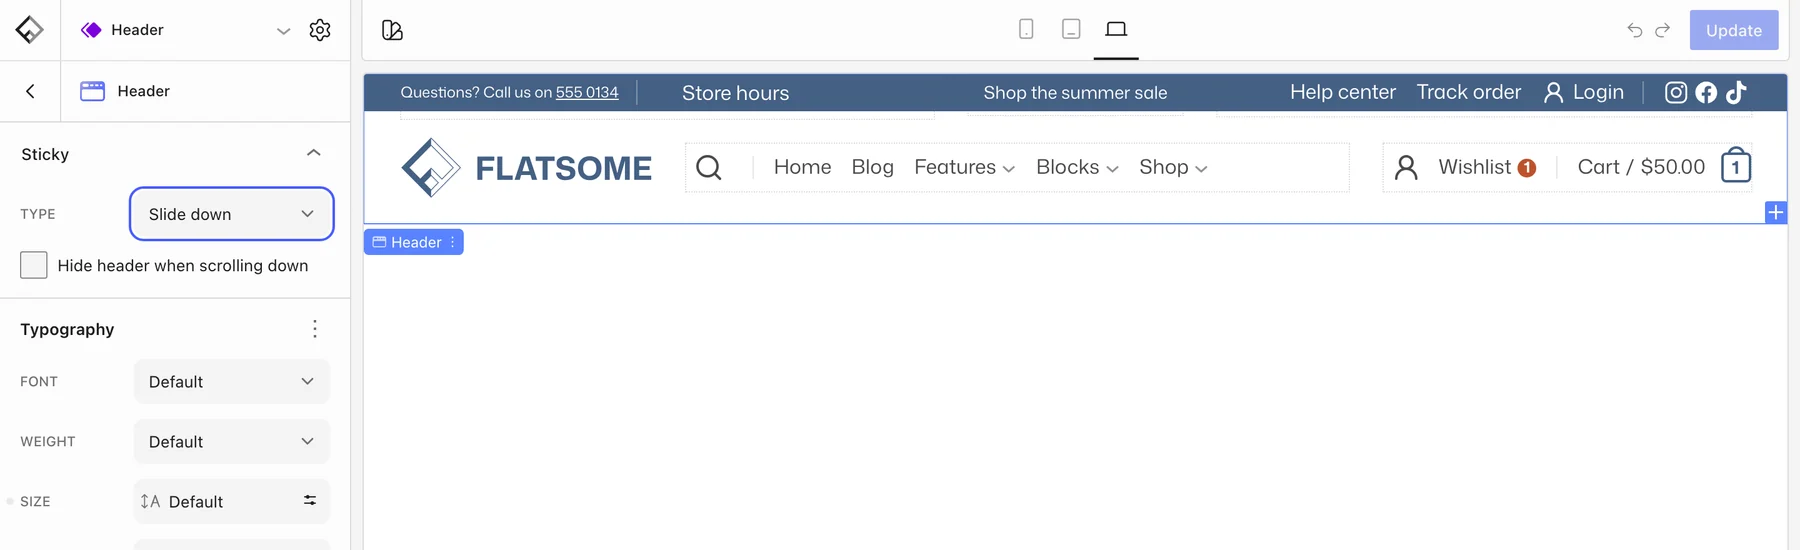
Select the outer Header block and open Sticky. Choose how the sticky header appears: Slide down, Fade in, or Resize, or set it to Disabled. Turn on Hide header when scrolling down to show the sticky header only while the visitor scrolls up.
Each row decides whether it is part of the sticky header with its own Show in sticky header setting. Header Main is included by default; top bars and announcement bars usually are not. Header Main also has a separate sticky height, so the header can shrink once it sticks.
Different header on mobile
There is one header for all screen sizes, and blocks are shown or hidden per breakpoint. The default header hides the Navigation, Search, and Header Divider blocks on tablet and phone, and shows an Off-Canvas Menu instead. To change this, select a block and use its Responsive visibility setting in the Appearance panel to hide it at the sizes where it should not appear. See Set up the mobile menu for the off-canvas part.
Add a vertical menu
The Navigation block can also run vertically, for example a category menu in a column or inside a mega menu. Select the Navigation block and set Direction to Vertical. Submenus then open beside the item instead of below it, when visitors point at the item, tap it, or reach it with the keyboard.
Deeper levels show as columns inside the submenu, the same way they do in a horizontal menu, and mega menu items open their panel beside the item. A submenu wider than the space beside the menu shrinks to fit. On phones, use an Accordion Navigation in the off-canvas menu instead. See Create a mega menu and Set up the mobile menu.